Rust. It is the absolute worst. In this entire camper conversion process, the actual building out of the van (minus insulation, which is a whole other ordeal), probably only took about two months. The majority of the summer was spent on the tedious process of rust abatement.
Sadly, one big flaw of Sprinter vans are the mediocre paint jobs some received when imported to the US. Many Sprinter on the road have issues with rust, especially in notorious problem areas like under the door steps and under the windshield. This is specially bad in wintery areas that salt roads (i.e. the rust belt).
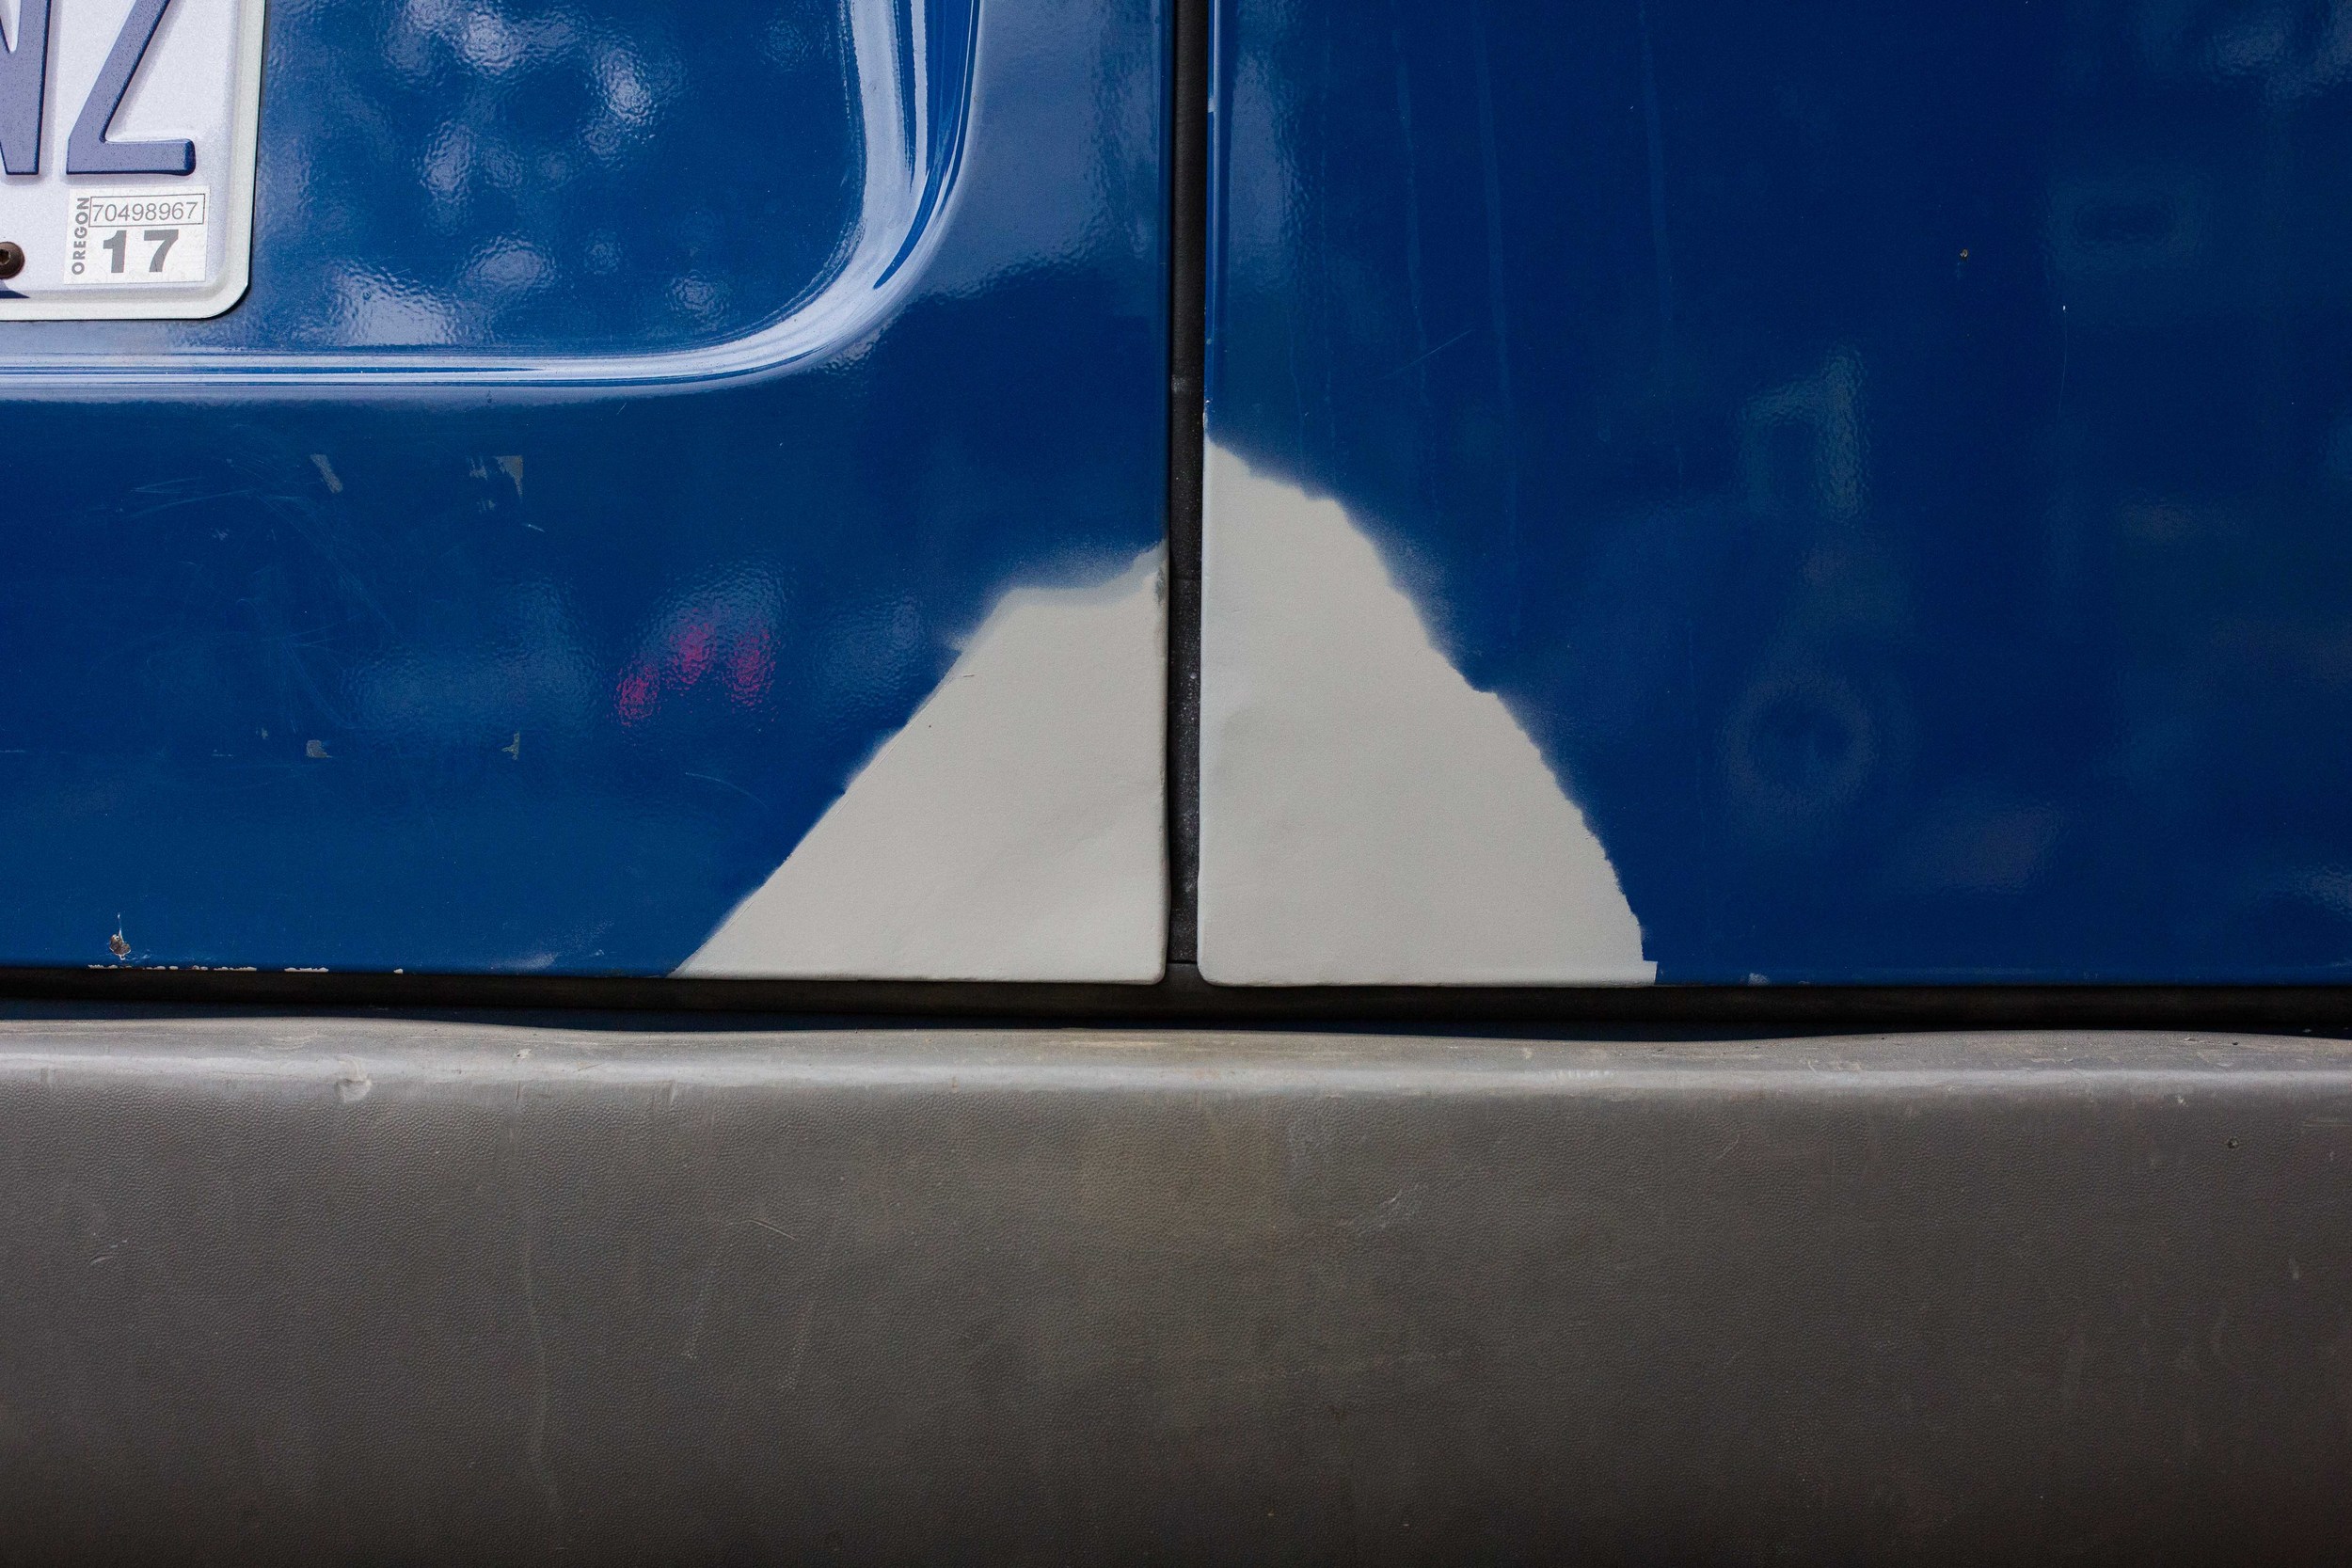
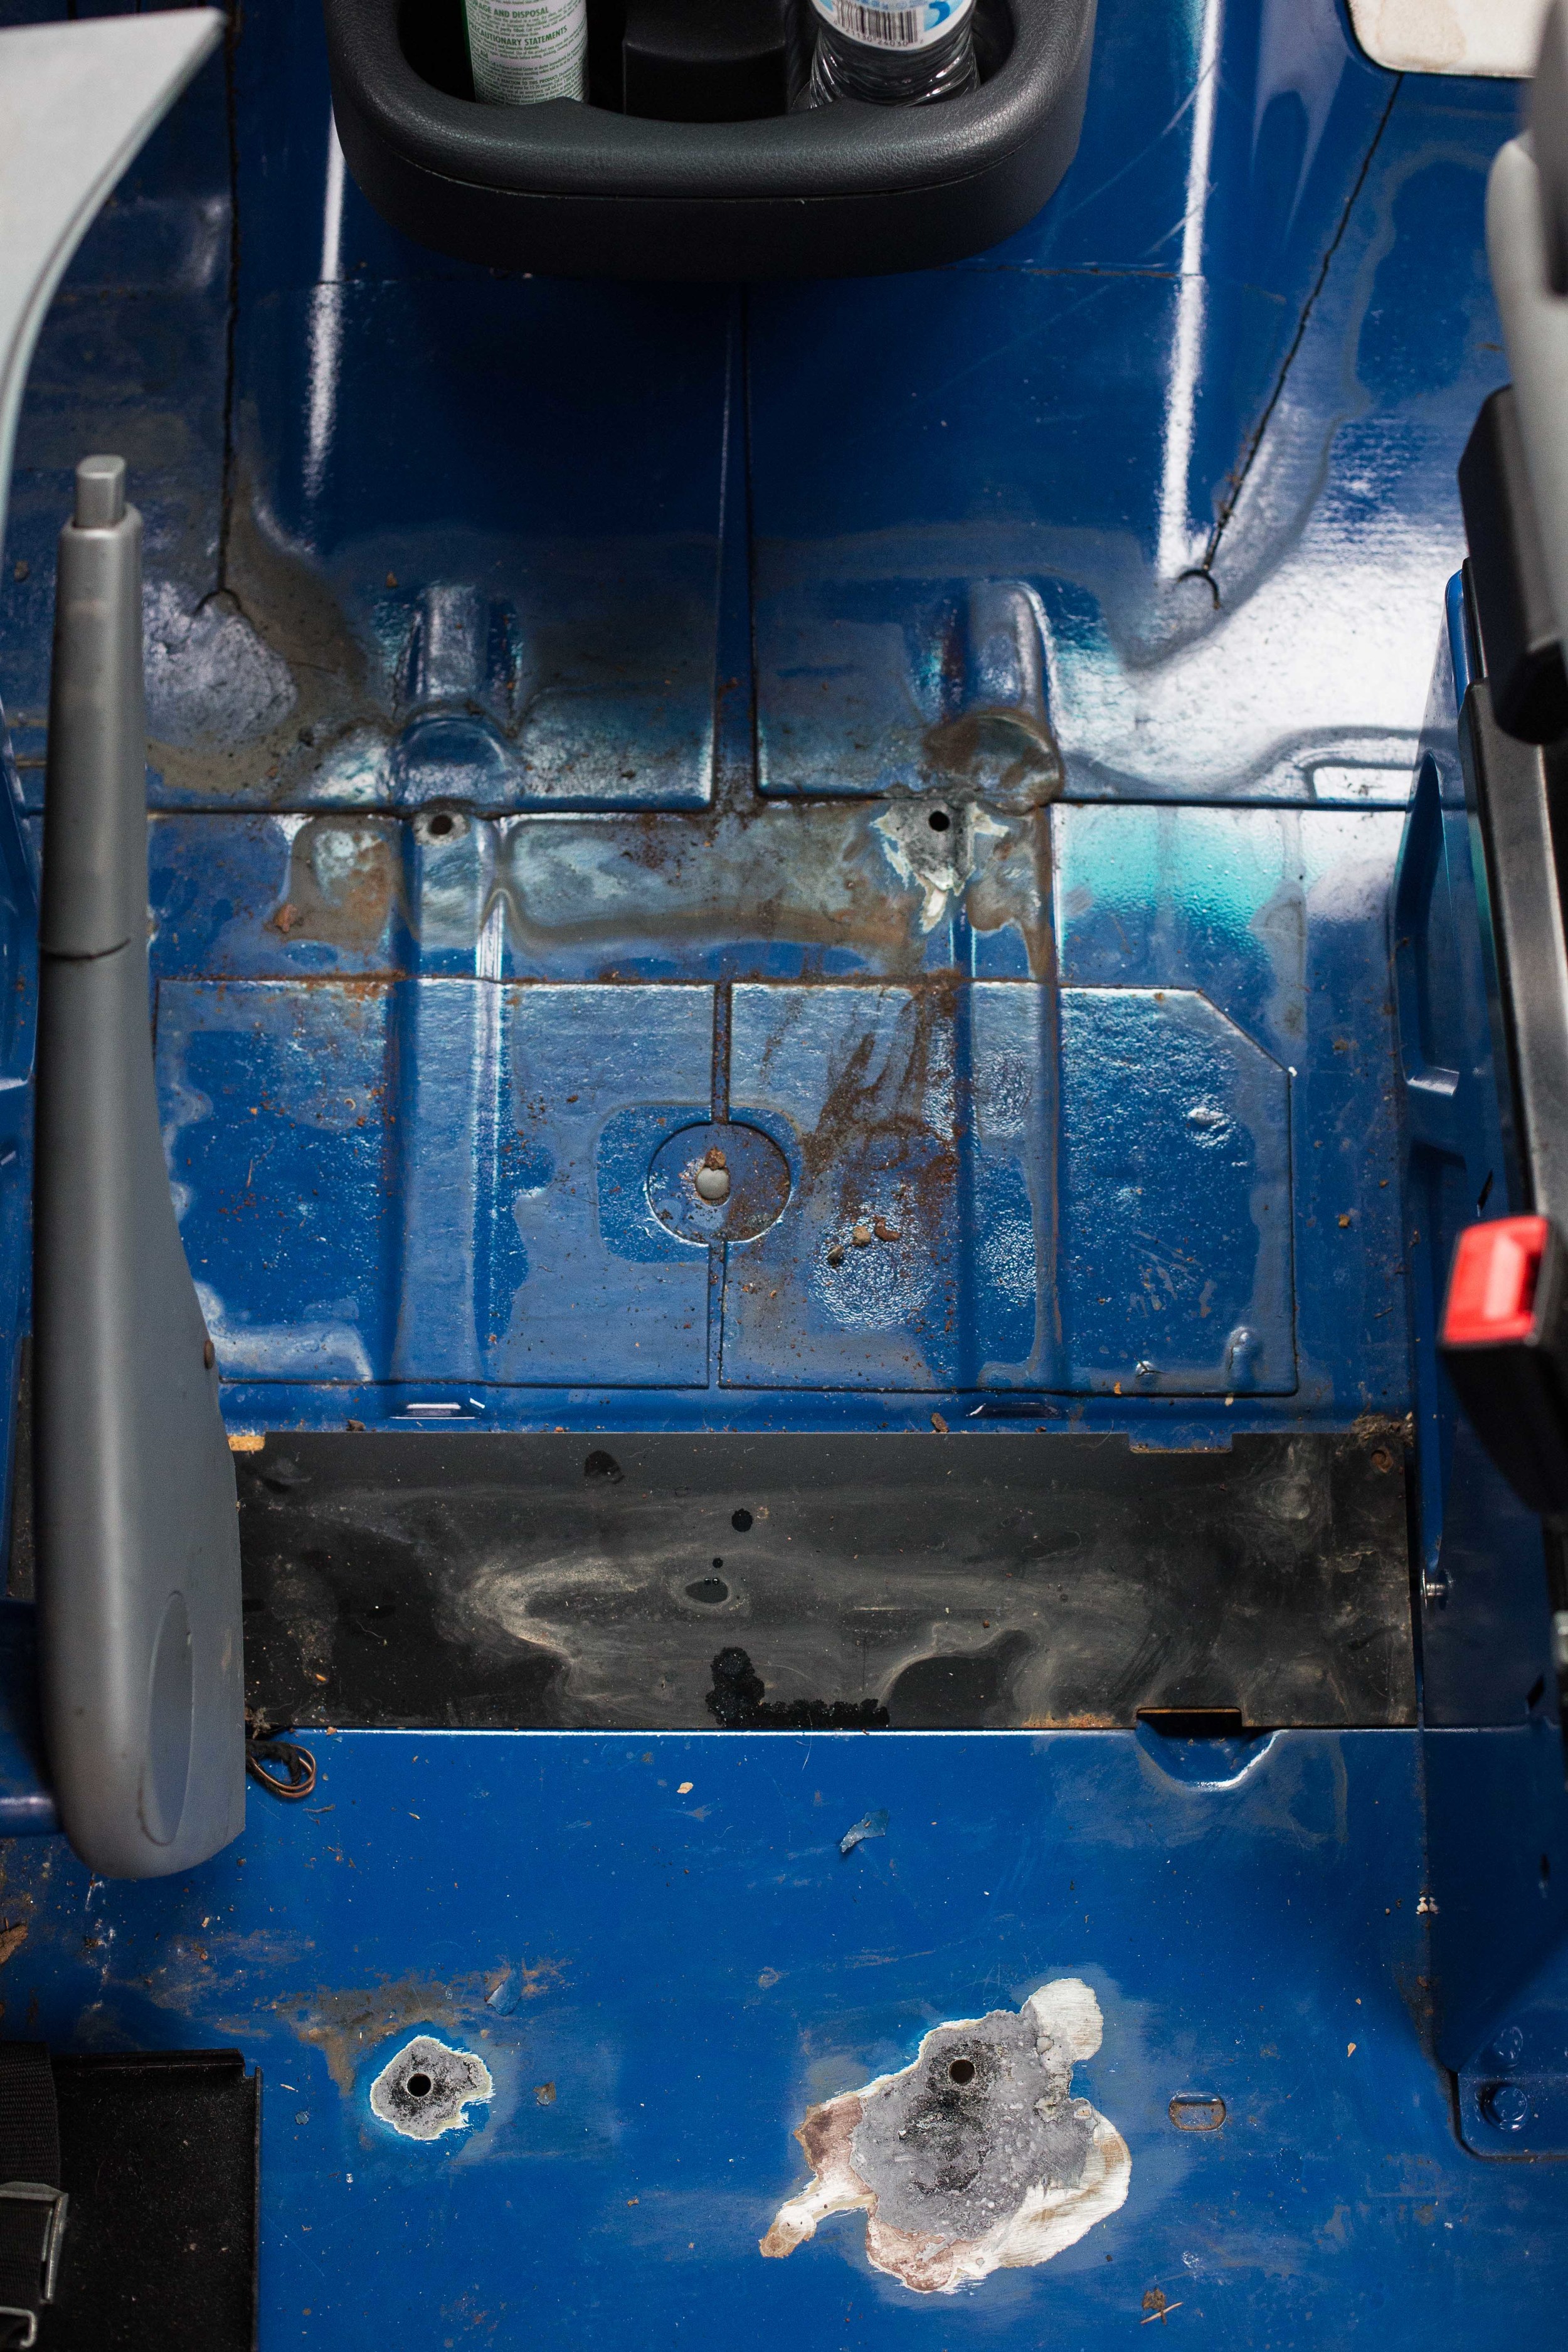
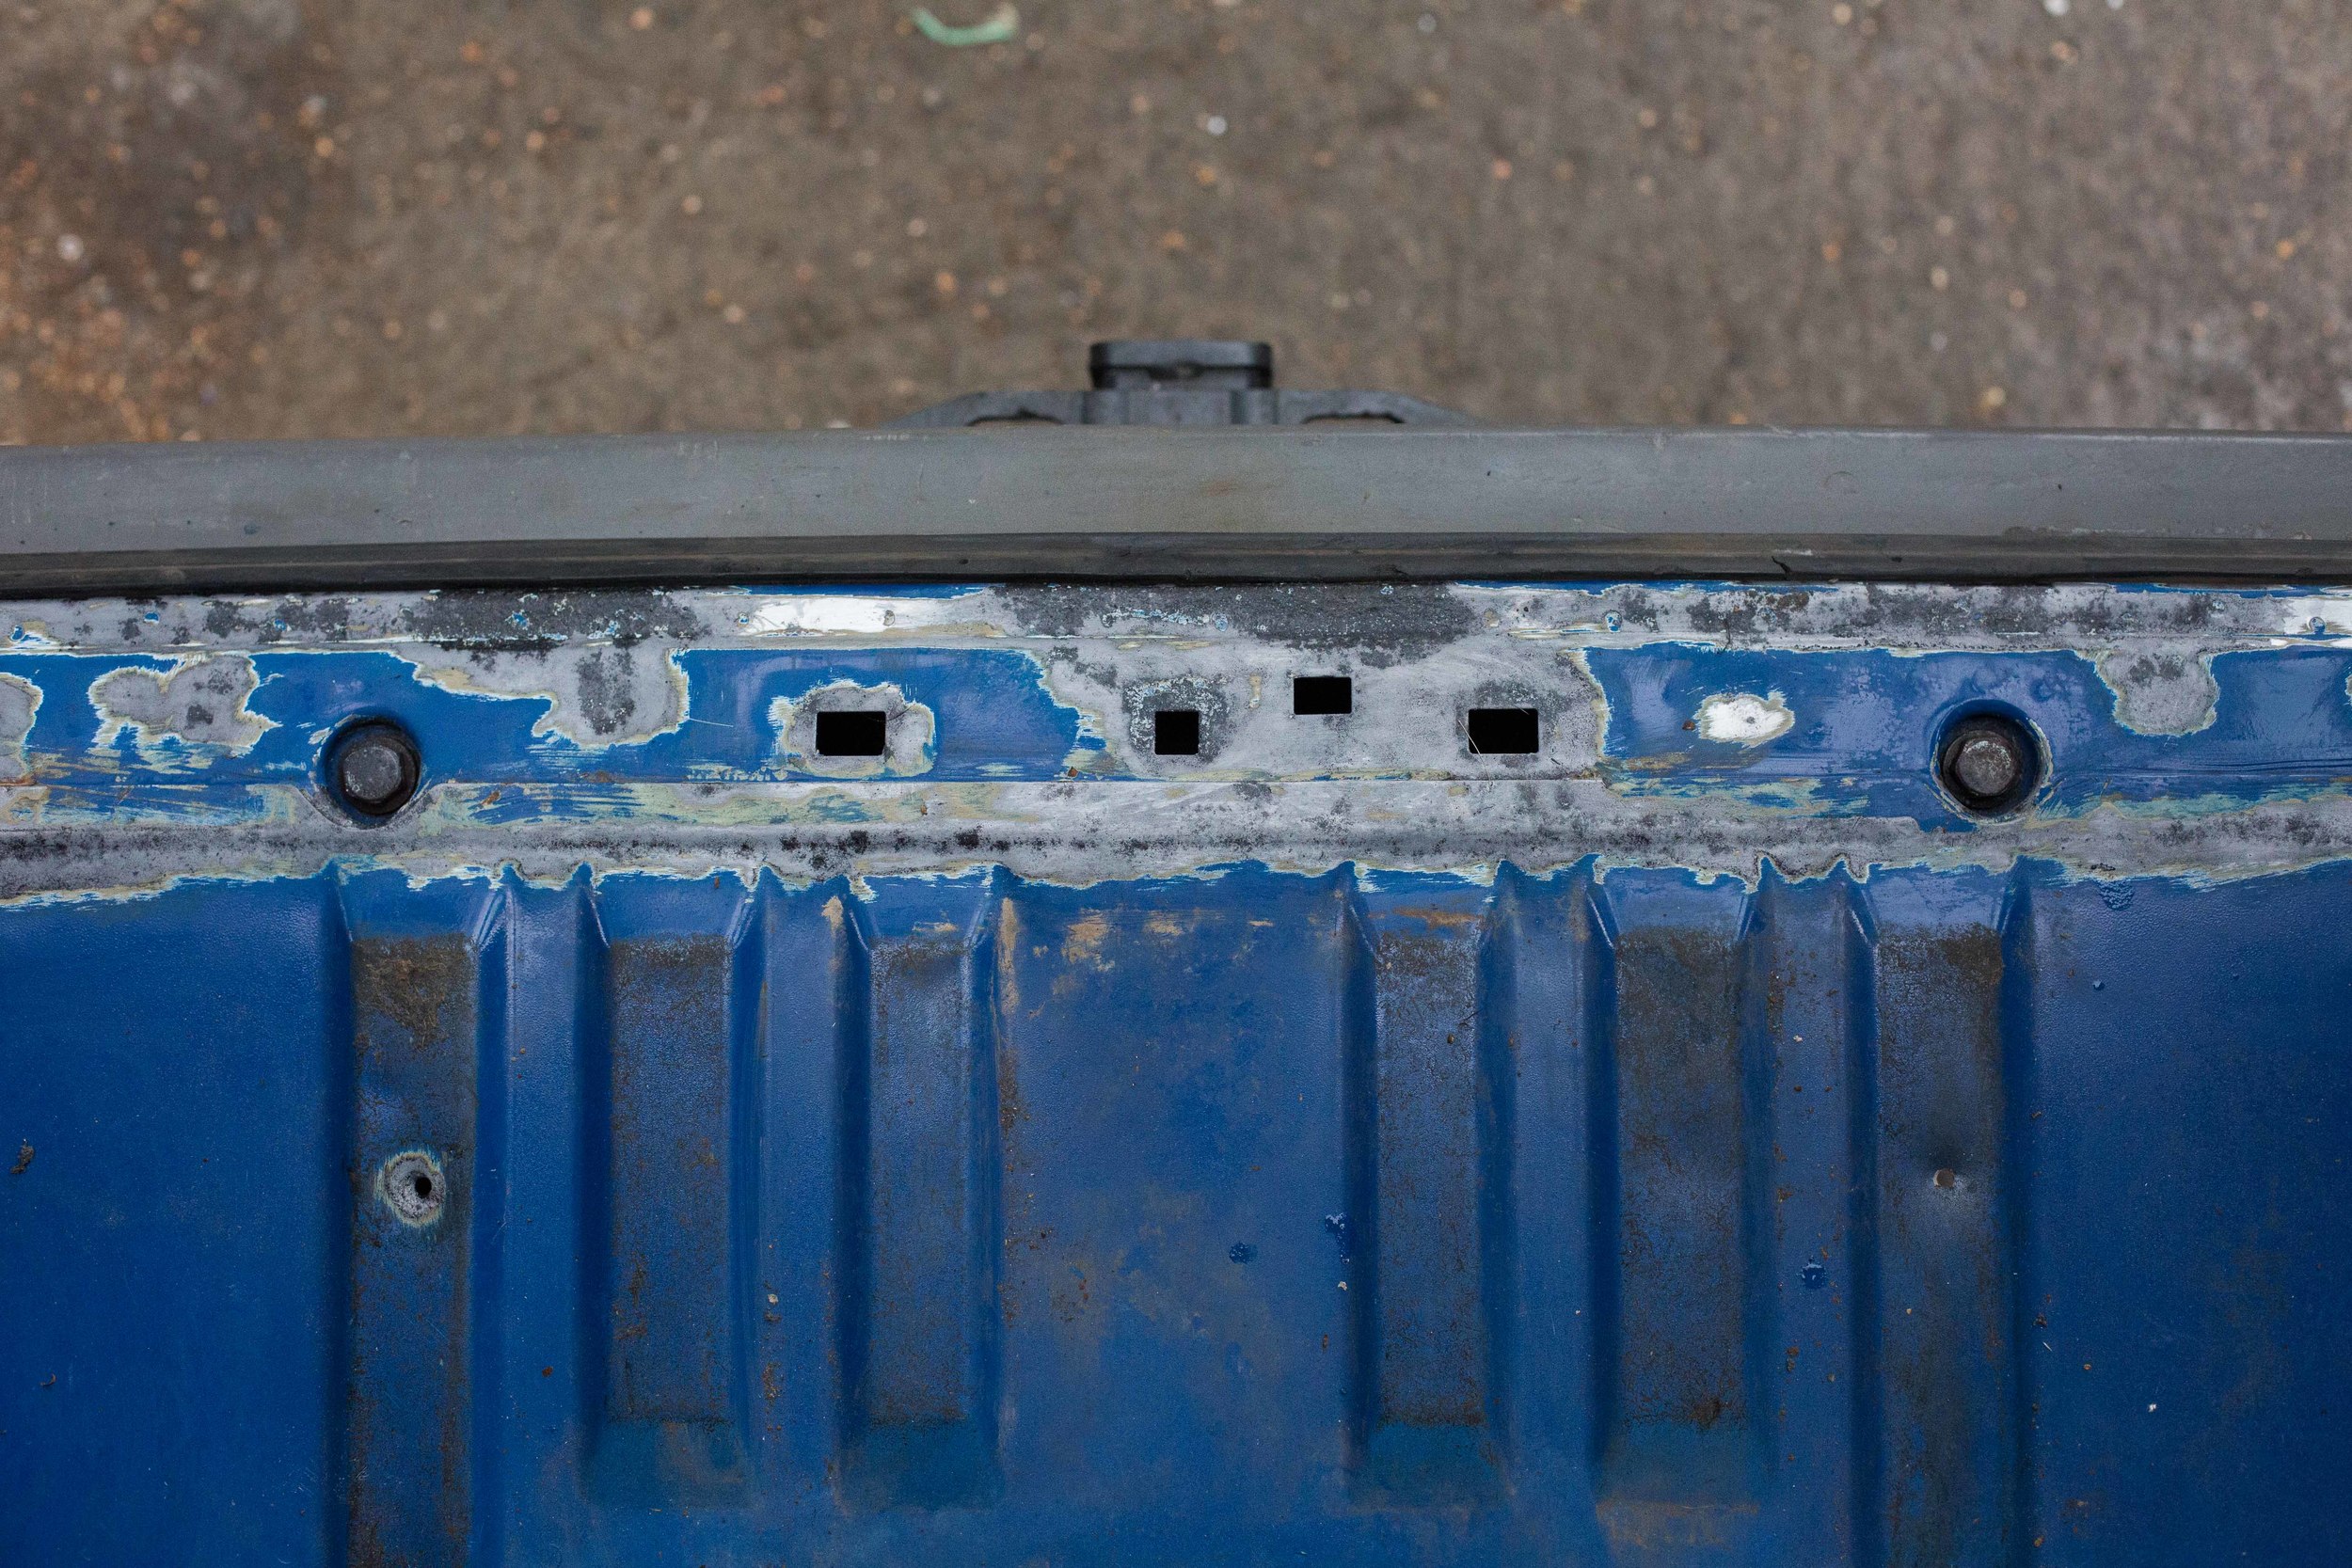
Buying my Sprinter site-unseen, I knew I ran the risk of running into rust. But I figured any rust that it might have on it can be fixed. When I first saw the van in person, my suspicious were confirmed. There were maybe a dozen spots of bubbling paint around the body, as well as in the corners of the rear doors, one side of the sliding door, underneath AND above the windshield, under the edge of the hood, and on the interior roof seams. In fact, the corner of the rear doors were rusted completely through to where i could stick my finger through it.
Getting rid of rust is an involved process. It goes something like this:
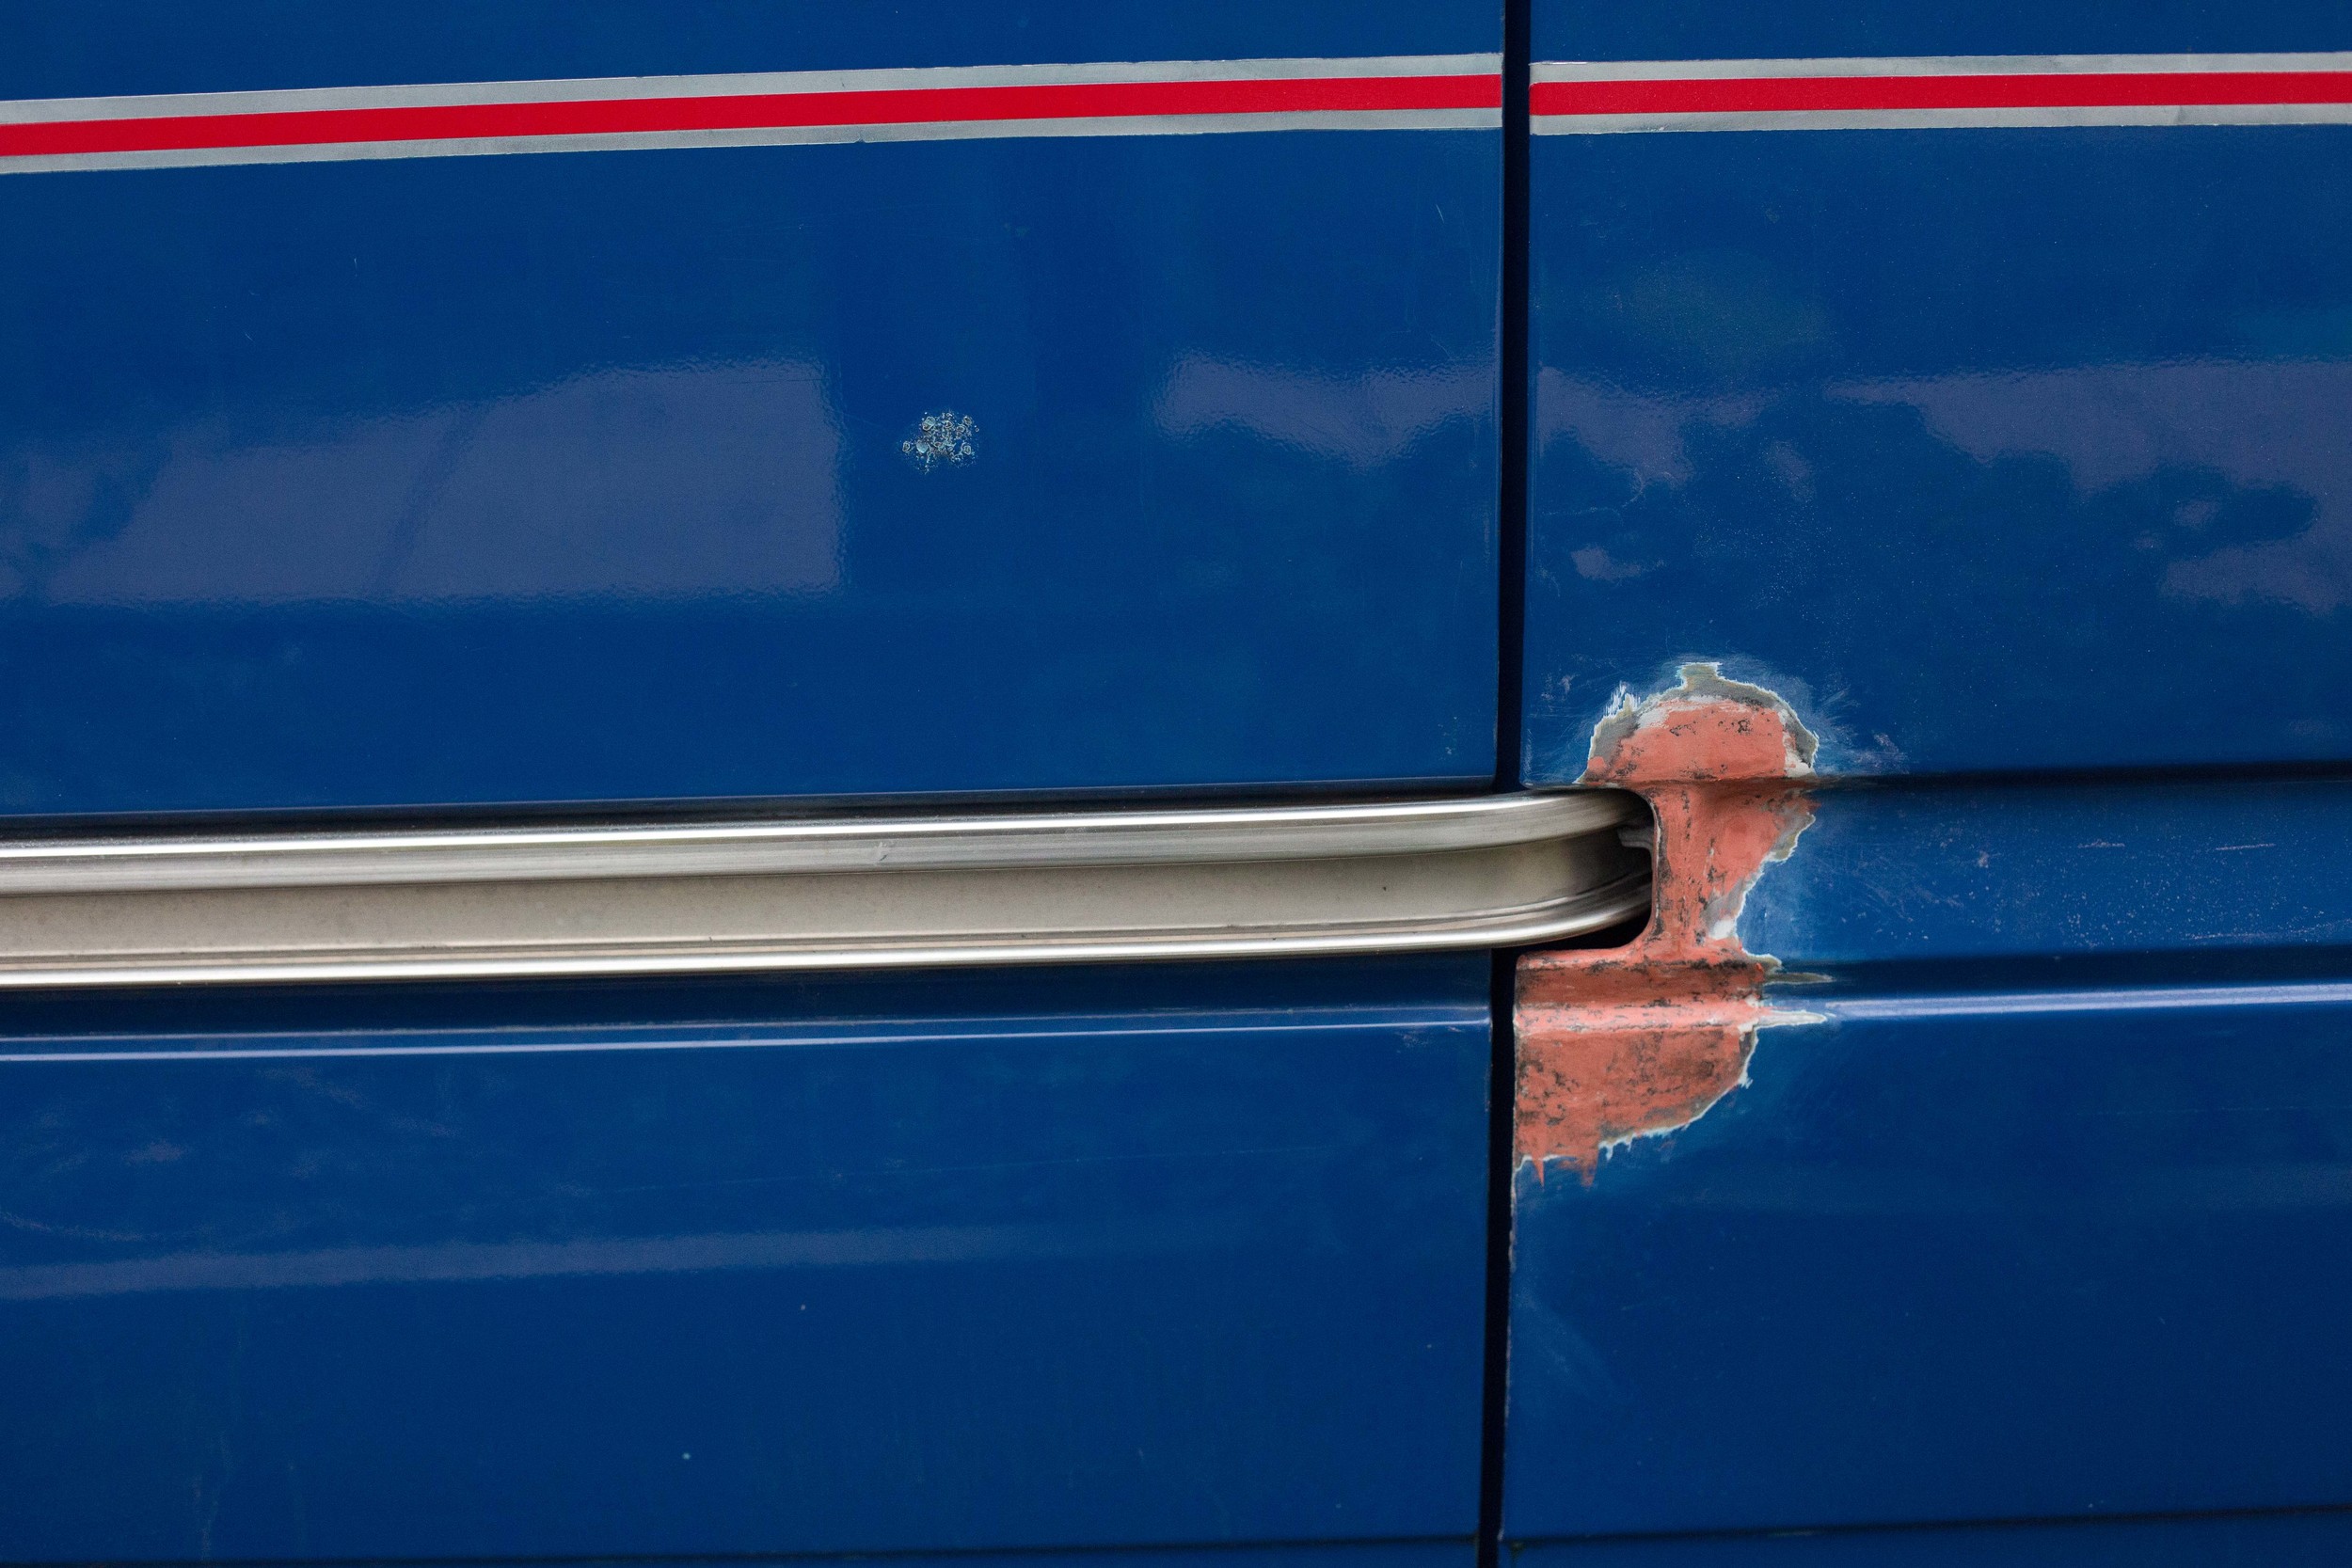
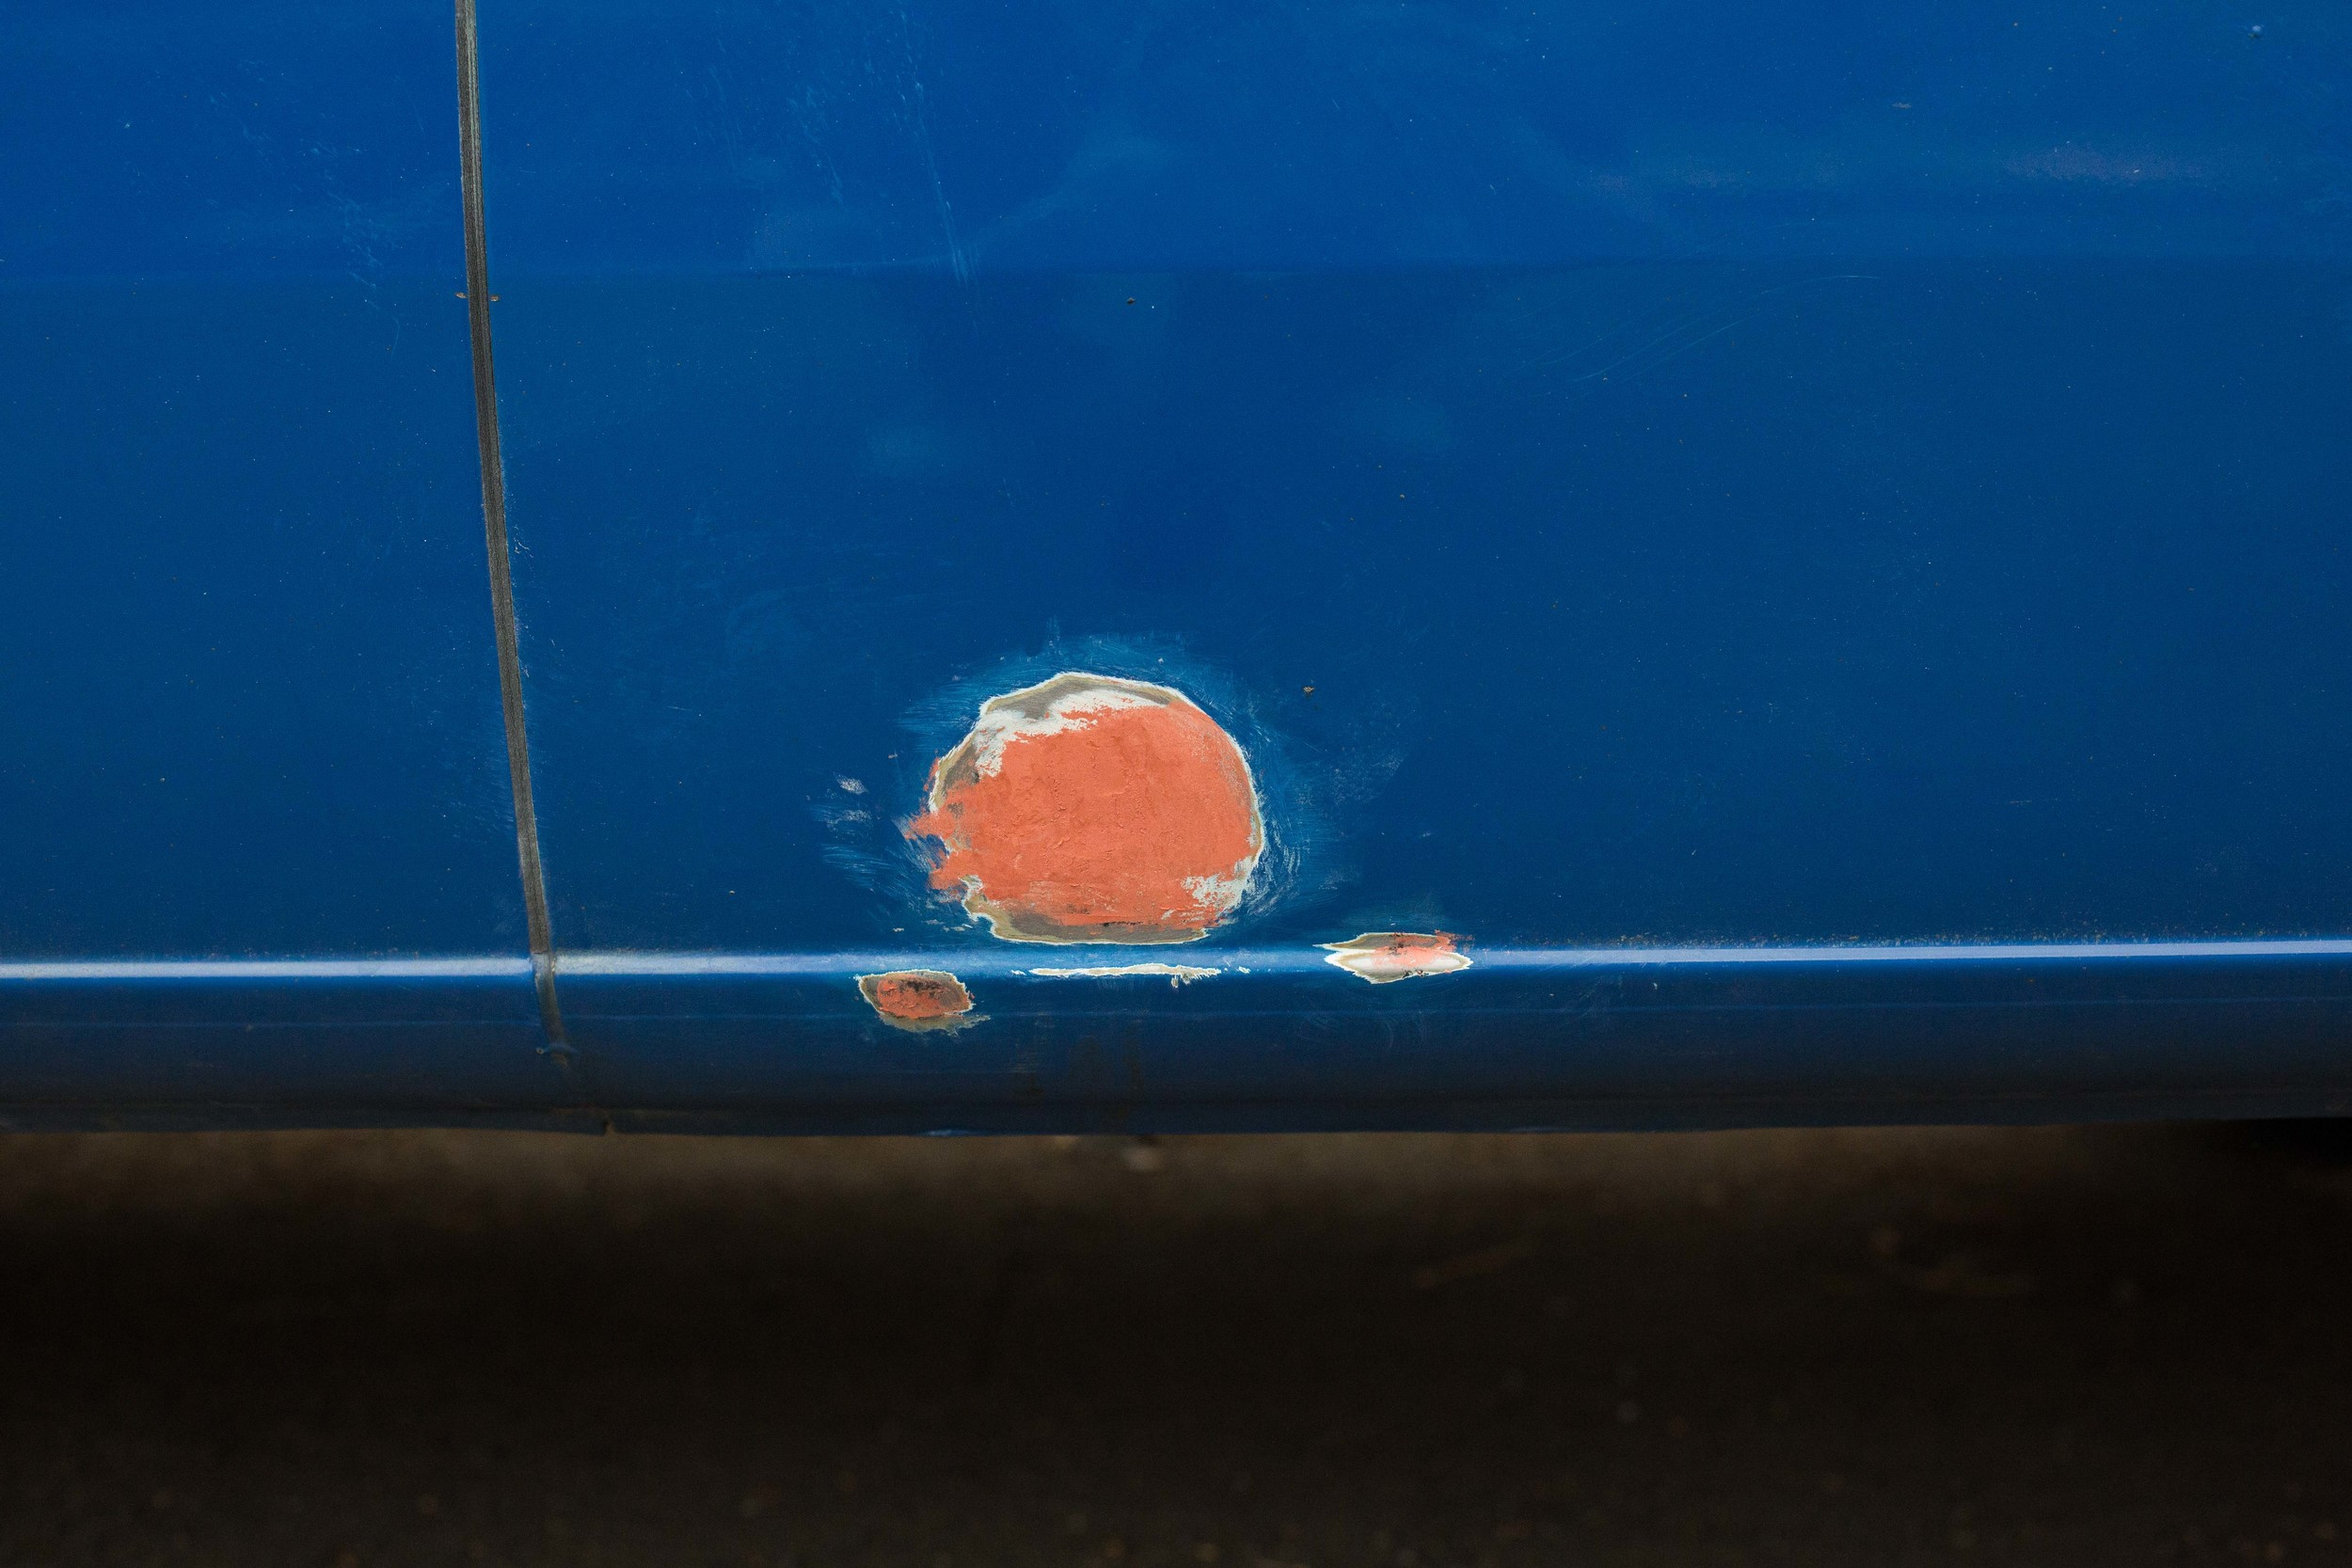
Use wire brush and/or polycarbide abrasive wheel on a drill or grinder to chip off the flaking paint and flaky, rusted metal. A pick or screwdriver is helpful here. You should get it down to bare metal if possible. And sometimes, the metal becomes completely rusted out, leaving holes.
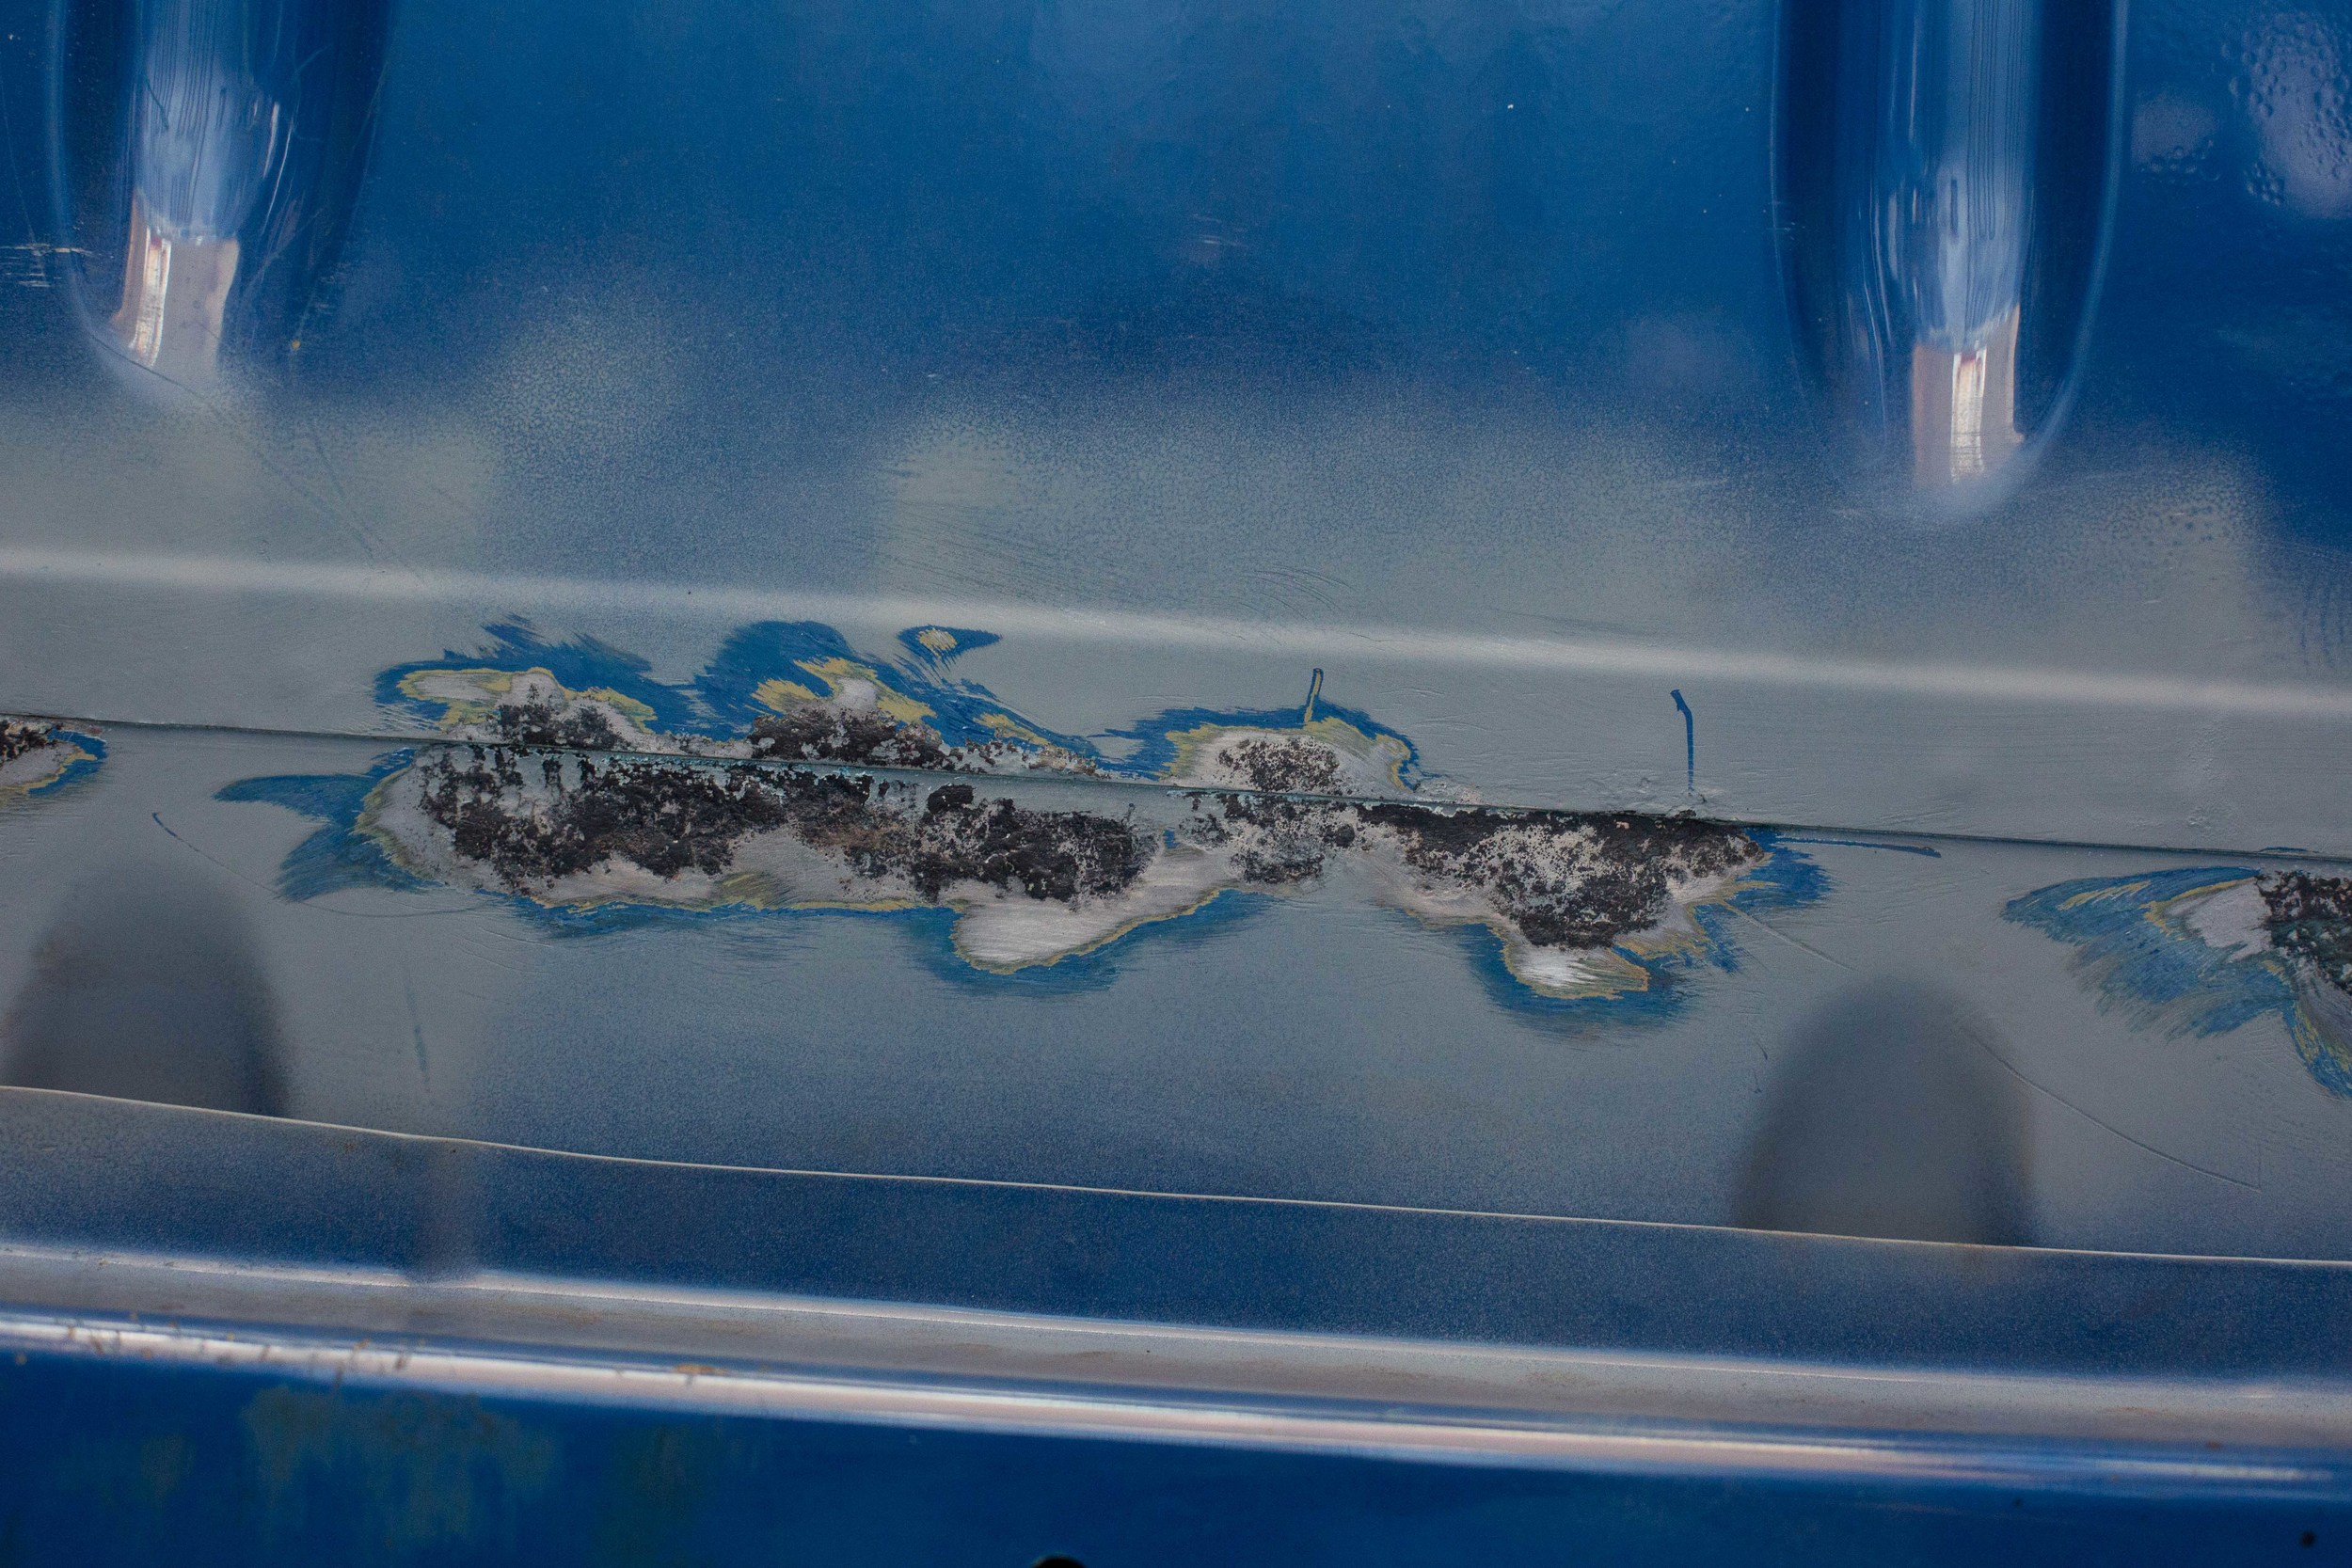
Apply some sort of rust converter. I used OSPHO, which is phosphoric acid. This converts the rust from iron oxide to iron phosphate, an black and inert substance. This will stop the rust from further reacting with air and moisture.
A step I added later was to use a rust inhibitor. Some use either a converter or inhibitor; I decided to use both. Inhibitors are a special paint that cover the rust and dries into a super hard layer, which cuts off oxygen from the rust. I used Rust Bullet, which results in a silver coating. This can be sanded and painted over.
Use Bondo to fill any holes and to build out low spots. You have to sand Bondo and then use Bondo Putty to fill any holes or imperfections. The putty version is far easier to sand and work with.
Sand. You have to smooth out the rust inhibitor and/or Bondo to match the surface of the vehicle. This is super tedious and takes forever. I recommend using a sanding block. I started with 100 grit (if sanding Bondo), then 150 and 220 grit, and moved up to 320 before priming.
Prime. Use automotive primer (high build) as a base layer, at least two coats. At this point, be sure to mask neighboring panels to prevent over spray.
Sand. Wet sand with 600 grit automotive sand paper to get the primer and the transitions between primer and old paint to be smooth. Be sure to use automotive specific paper, as it’s meant for paint and clear coat finishing!
Apply touch up automotive spray paint. I color matched mine from Automotive Touchup. Apply 2 or 3 coats to completely cover the primer. If you get runs in the paint, wait til it's completely dry and use 1000 grit wet sandpaper to fix the runs and smooth out the paint. Then apply another coat of paint.
After paint has completely dried, apply several layers of clear coat (2 or 3 coats).
Sand. When the clear coat dries, it leaves an orange peel texture. If you want to get rid of this, sand with 1500 or 2000 grit sandpaper until you get the orange peel out. Don't press too hard or else you will sand through the clear coat. 3000 sandpaper pad is money too for prepping to polish.
Polish. After you wet-sand, the finish will be pretty dull. To bring out the shine again, use a good polishing compound. I brought a foam buffing pad that goes on a power drill. This will get the shine back. Then wipe clean with a soft cloth.
Repeat for EVERY rust spot.
This is why building out this van took 6 months. The first 4 months were really spent repeating all these steps. I took on sections of the van at a time, starting with the doors, then the body spots, then under the hood and around the windshield. Mixed in with rust work, we also worked on insulation and cab upgrades to keep the process moving. Rust, however, took the lions share of time.
Rust abatement continued until the rainy season came. The moisture, low temperatures, and short daylight makes painting impossible. I still need to repaint the hood, as well as correct a couple spots on the back window. But after many hours painting, it finally feels like I am gaining the upper hand. The before and after photos are quite striking. Now, most people can't even tell rust was an issue.
After the rains from this winter, I think I will need to go back and apply Rust Bullet to the places that I did not originally use it. The rains here have start to make spots bubble up again. I think the van is like the Golden Gate Bridge - once you finish painting, you have to start at the beginning again. But at least now, it's contained to the point I can sleep at night.
Lessons Learned:
Don't buy a vehicle from a rust belt city. Take the time to find a rust-free van.
Use nitrate or latex gloves, goggles, and breathing mask when removing rust, sanding, or painting. This stuff is pretty nasty and you want to minimize your contact with it.
It's easier to paint an entire panel at once, rather than trying to blend old and new paint. Paint fades and it's easy to see where you have/have not painted. Painting an entire panel uses the natural features of the van to blend in the new paint.
Doing a good job sanding, while tedious, makes or breaks this type of work. If you are patient, it will look a lot better.
Don't muscle sanding. Let the sand paper do it's thing and replace clogged sheets. Bearing down with all your might will do more harm than good.
Rust never sleeps. Do a good job grinding off all the flaky crap and applying converter/inhibitor.