The first steps we took in the van was taking all the old old stuff out of it, and strip it down to it's bare frame. In it's former life, the van was a fleet vehicle for a Philadelphia company called Kint Beverage Concepts, who I believe installs CO2 systems for bars, fountain machines, etc. Unfaded outlines of letters still exist in the paint of the van, and one can make out the website, email, and phone number if seen in the right light.

The van had a large metal bulkhead divider separating the cab and the cargo area. There was a large metal filing box between the passenger and drivers seat. The walls had metal rails and d-rings for securing cargo, and plastic lining the walls. The wheel wells also had large wooden benches. We started by taking all of this stuff out.
Bulkhead divider was held in place by several large rivets. The rivets had to be drilled out one-by-one. To do this, you first use a drill bit slightly bigger than the rivet head to drill out the center. After that, I used hammer-punch to knock out the rivets. This process took a while, especially since the rivets were steel and the ones securing the floor were very hard to access without contorting my body behind the seats. But after a couple of sweaty hours of drilling, the cab was freed!

Cargo rails and other crap in the van
The file box and wooden seats were both held securely in with large bolts, most of which had rusted from the outside. After failed attempts using wrenches and sockets, I eventually freed both of these things by using a hacksaw, and eventually resorting to a cut-off wheel dremel attachment to cut the remaining bolts.
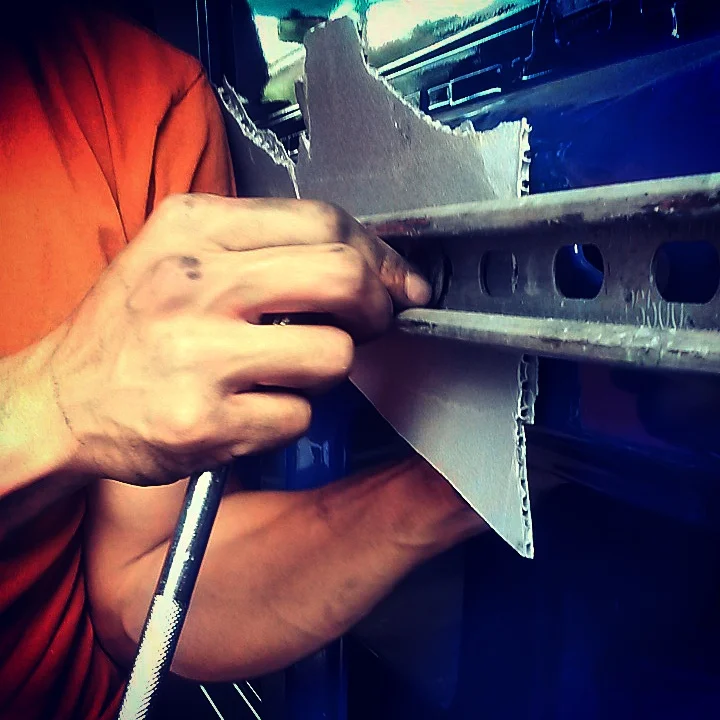
Taking off rails
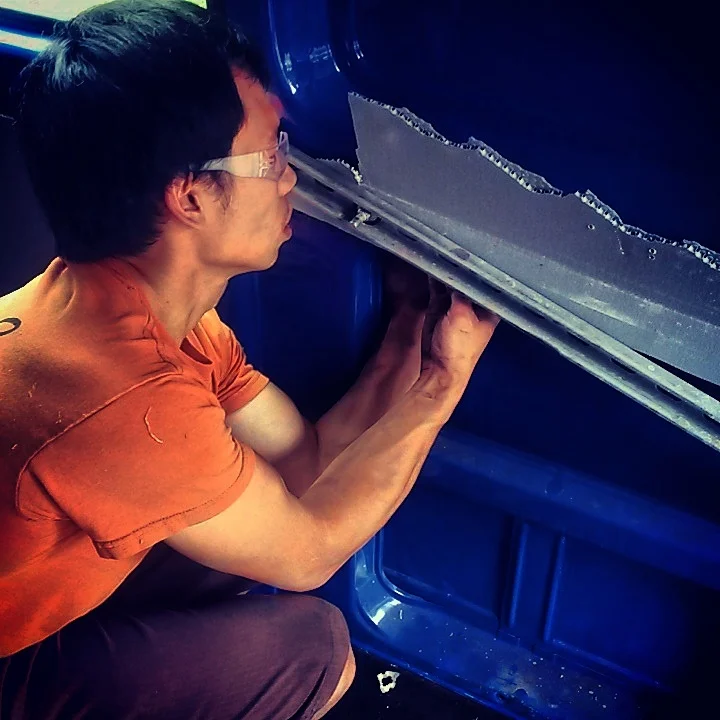
Using all my might
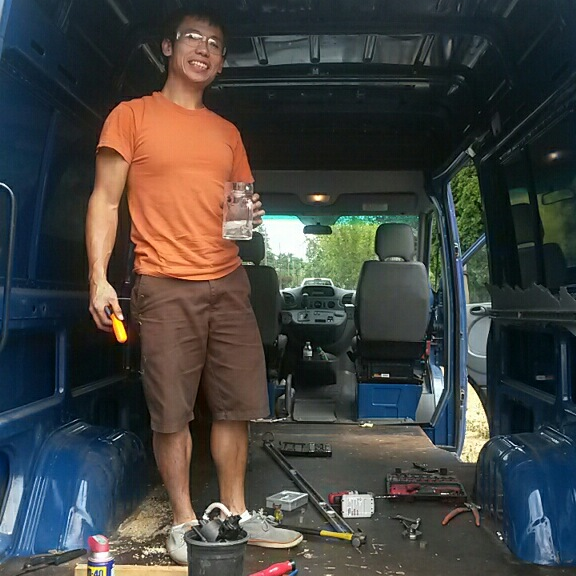
Water Break
Cargo area rails, d-rings, and liners were pretty easy to remove. I did manage to drop a crescent wrench down into a random area between the exterior body and the interior walls, below the wheel well. I was able to fish it out by sticking my hand in some mysterious pot-hole on the outside.
Next, i took out the original factory flooring in hopes of insulating beneath, adding sound deadening, and installing a thicker floor. The original floor was also held in place by small rivets, which were much easier to drill out than the bulkhead. Beneath the flooring was another layer of fibrous hair, which i believe Mercedes used for sound deadening.
The walls and floor were both caked in dust and a mysterious sticky substance from being a beverage transporter. McKinley did an excellent job cleaning and santizing the body.
We then used epoxy putty to seal up the majority of the holes in the floor so water would not seep in, as well as cover up the holes the bench, file box, and all the other holes the previous owner left. I also sprayed painted and clear coated any existing holes to stop any exposed metal from rusting.
At this point, the van was completely empty, cleaned, and ready for sound deadening and insulation.
Plans for the upcoming build can be found on my SketchUp diagram, found here!