In the original design of the bed, I wanted something that could convert from a couch to a bed. Like a futon, only less college-dorm and more space conscious cabin. The reason for this is two-fold. One - when camping for a long time, sitting somewhere with a back is quite a luxury. Also if sitting for an extended period of time, it's nice to have someplace to put your legs (rather than sitting on a flat bed). Second - having an open walkway from the front to the back of the van really opens up the space, both visually and functionally. Most van designs I've seen have a solid platform bed with a large storage compartment underneath. While extra storage would be lovely, having the bed span the entire width makes the interior seem smaller and more claustrophobic.
View the SketchUp plans for the extending bed here!
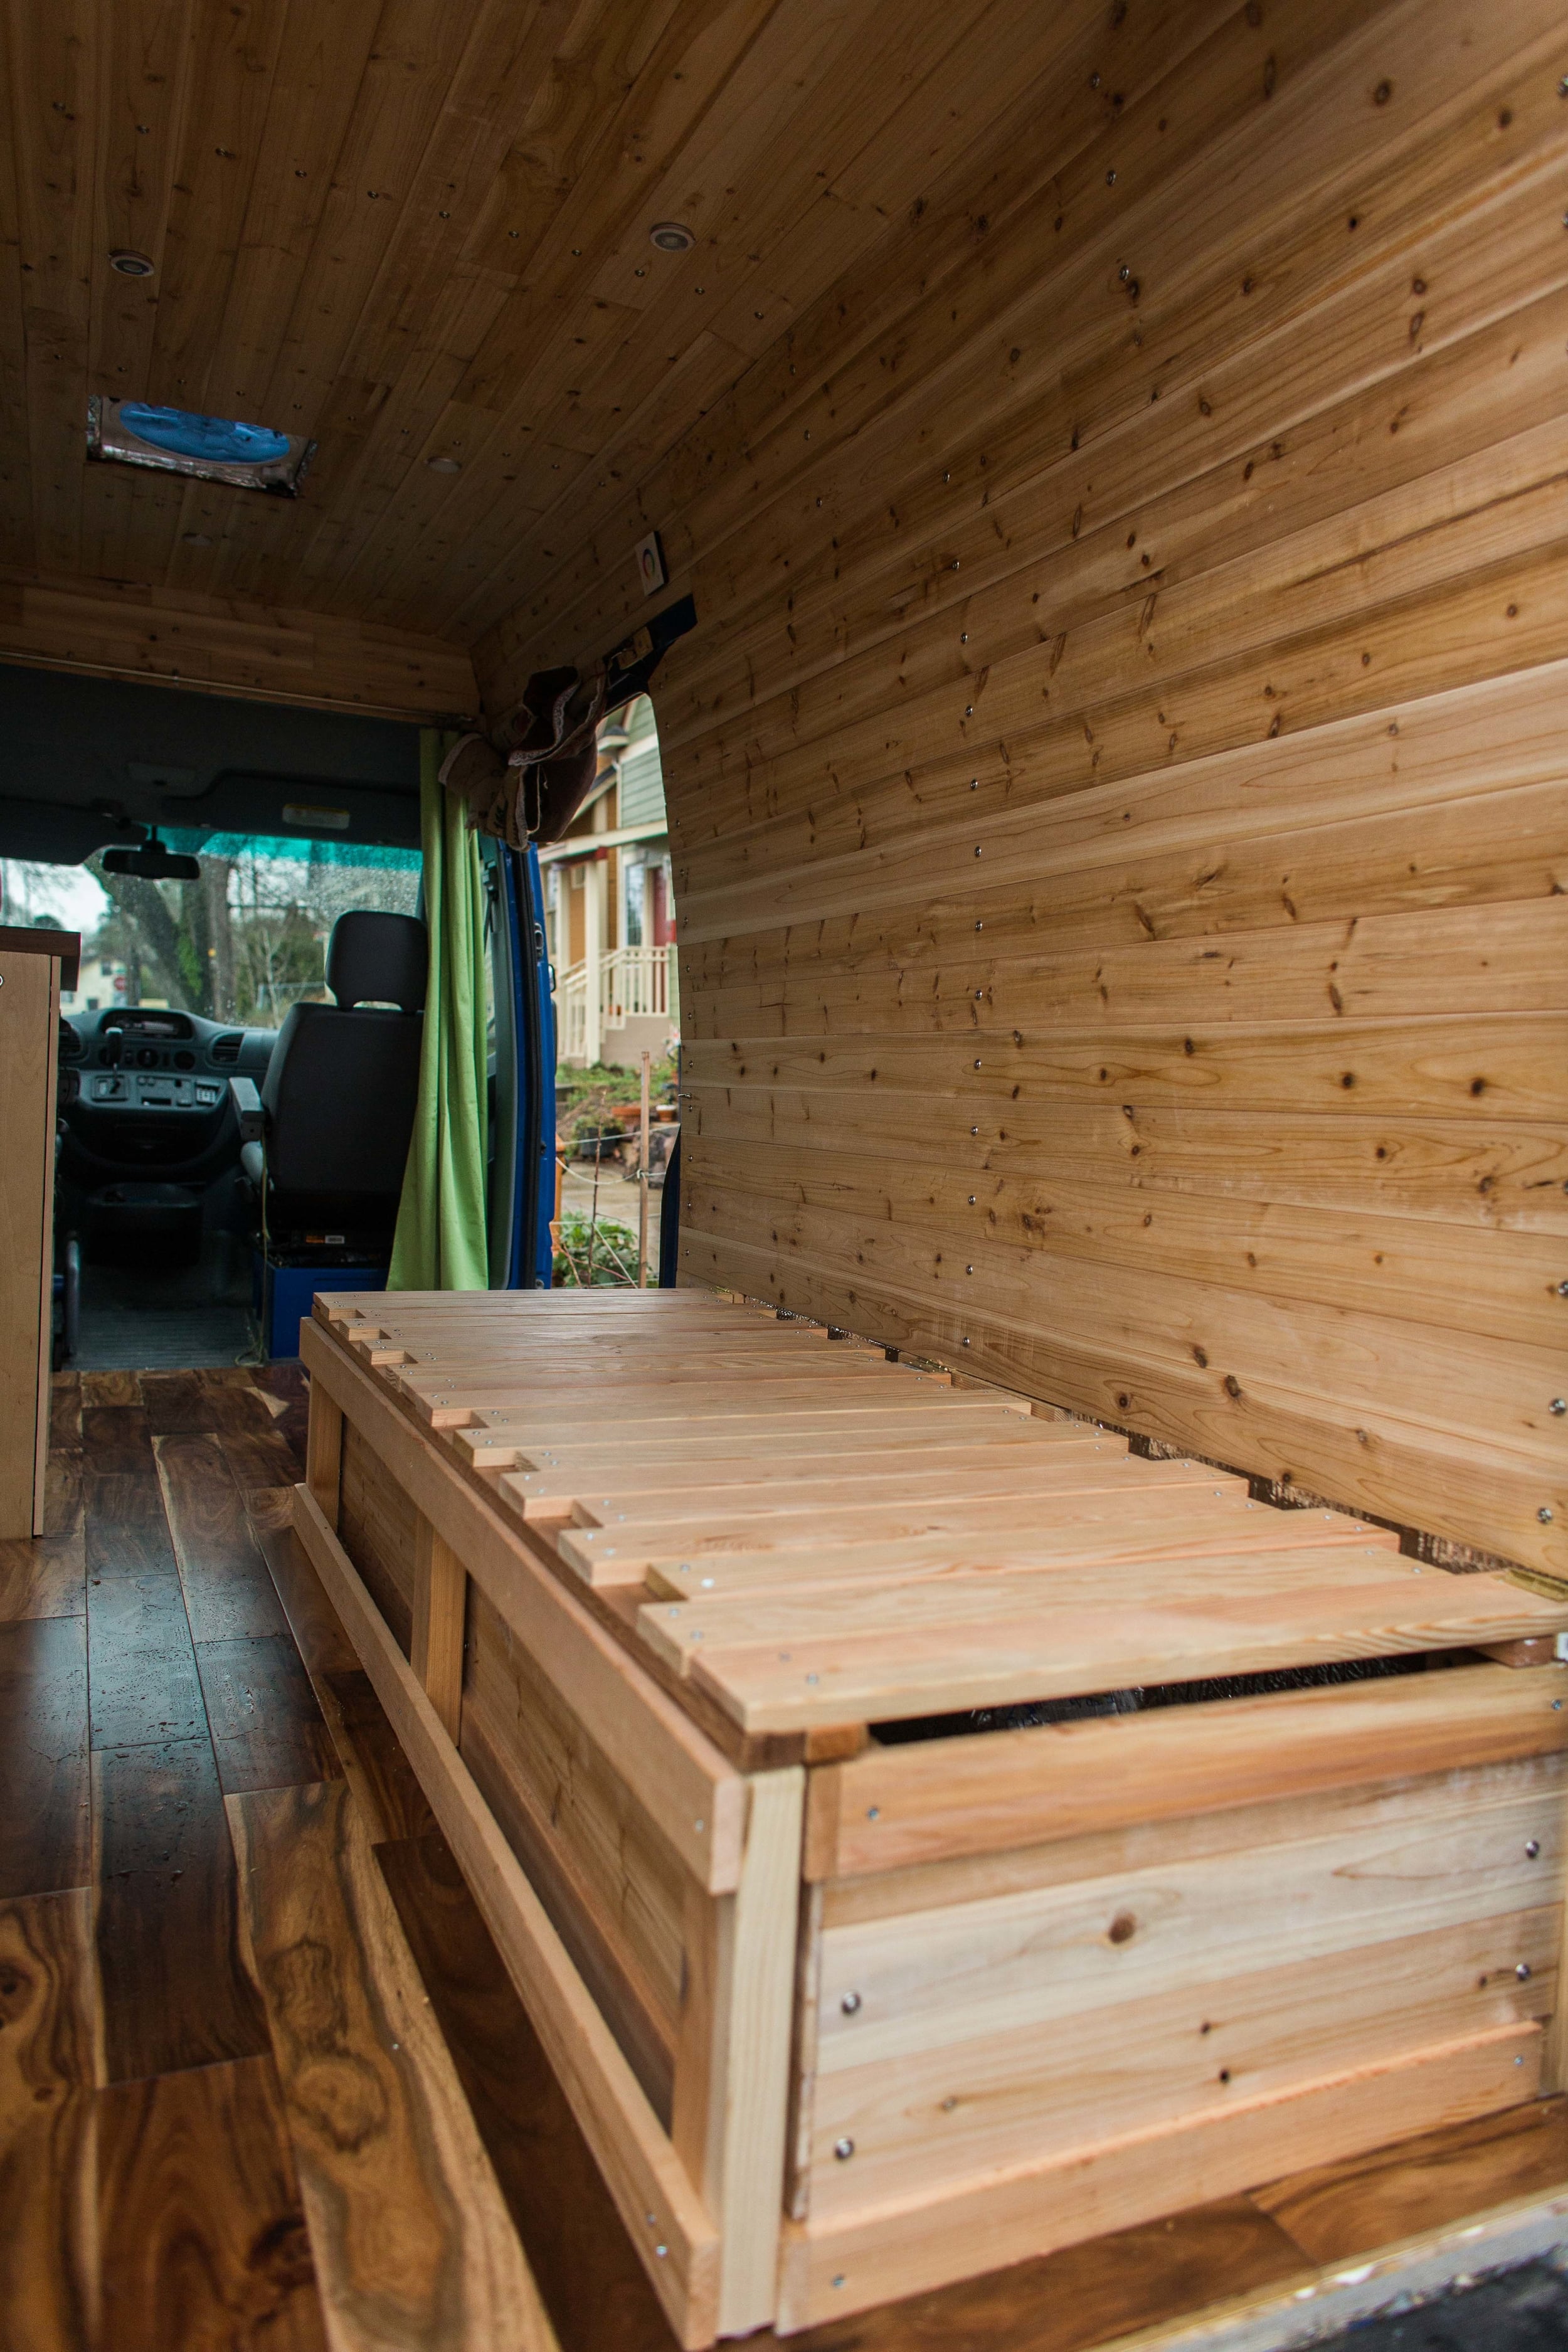
I came across a really cool design from vandogtraveller.com, which uses interlocking slats that forms a solid base when pushed in but extends into a bed. When in couch form, the slats are hinged so they lift off and provide some under-the-couch storage. I thought this was super cool and designed my bed largely off this concept, but altered to fit my space and needs. Once again, designing and good planning make this scenario go much more smoothly. Luckily, McKinley and I are short and small, so we decided a 54" wide x 70" long bed was suffice for our space. This is equivalent to a "short full" in width.
Items Needed:
Lumber! Lots of it. When designing, the bed was split into three parts
Base Box - Made of cedar board
2x4" for solid framing posts
1x3" for the top and bottom of the front, sides, and the top of the rear that goes over the wheel well.
Hinging Lid
1x4" doug fir for slats. Doug Fir used for uniformity of boards
1x3" cedar for the length-wise runners
Extension slats and foot
More 1x4" slats
1x3" cedar runners and lengthwise boards for the foot
Poplar dowel. I think I used 3/8" or 1/2", cant remember.
Wood Screws - I used stuff I had on hand. 1" and 2 1/2" I think.
Chop saw or Miter saw - power tools make this much easier.
Router with a round-over bit
Hinges for the lid
This worst parts of the bed was figuring out how long the slats needed to be and cutting out the wood (because it is tedious, but easy enough). Since the cabinets were already built, the bed could only extend out so far. I then had to take into account the depth of the seat when a couch. Too deep, your feet will not touch the ground. Not deep enough, the extended bed will be too small. Then you have to take into account the runners that hold the slats together. The 1x3" width needed to be accounted for (once) when in couch mode, but subtracted out (twice) in bed mode. I had to draw several sketches to wrap my head around how it will work.
But after all that was figured out, it was just a matter of cutting out all the wood and assembling it. I started with the box, which was just building a box. Securing it to the van was a little tricky. I underestimated the height of the wheel well, so i had to cut the rear runner that rests on top the wheel well at a weird angle using a jig saw to make it fit. After that, it was secured to the floor using pocket screws, and attached to the van sides using self-drilling sheet metal screws.
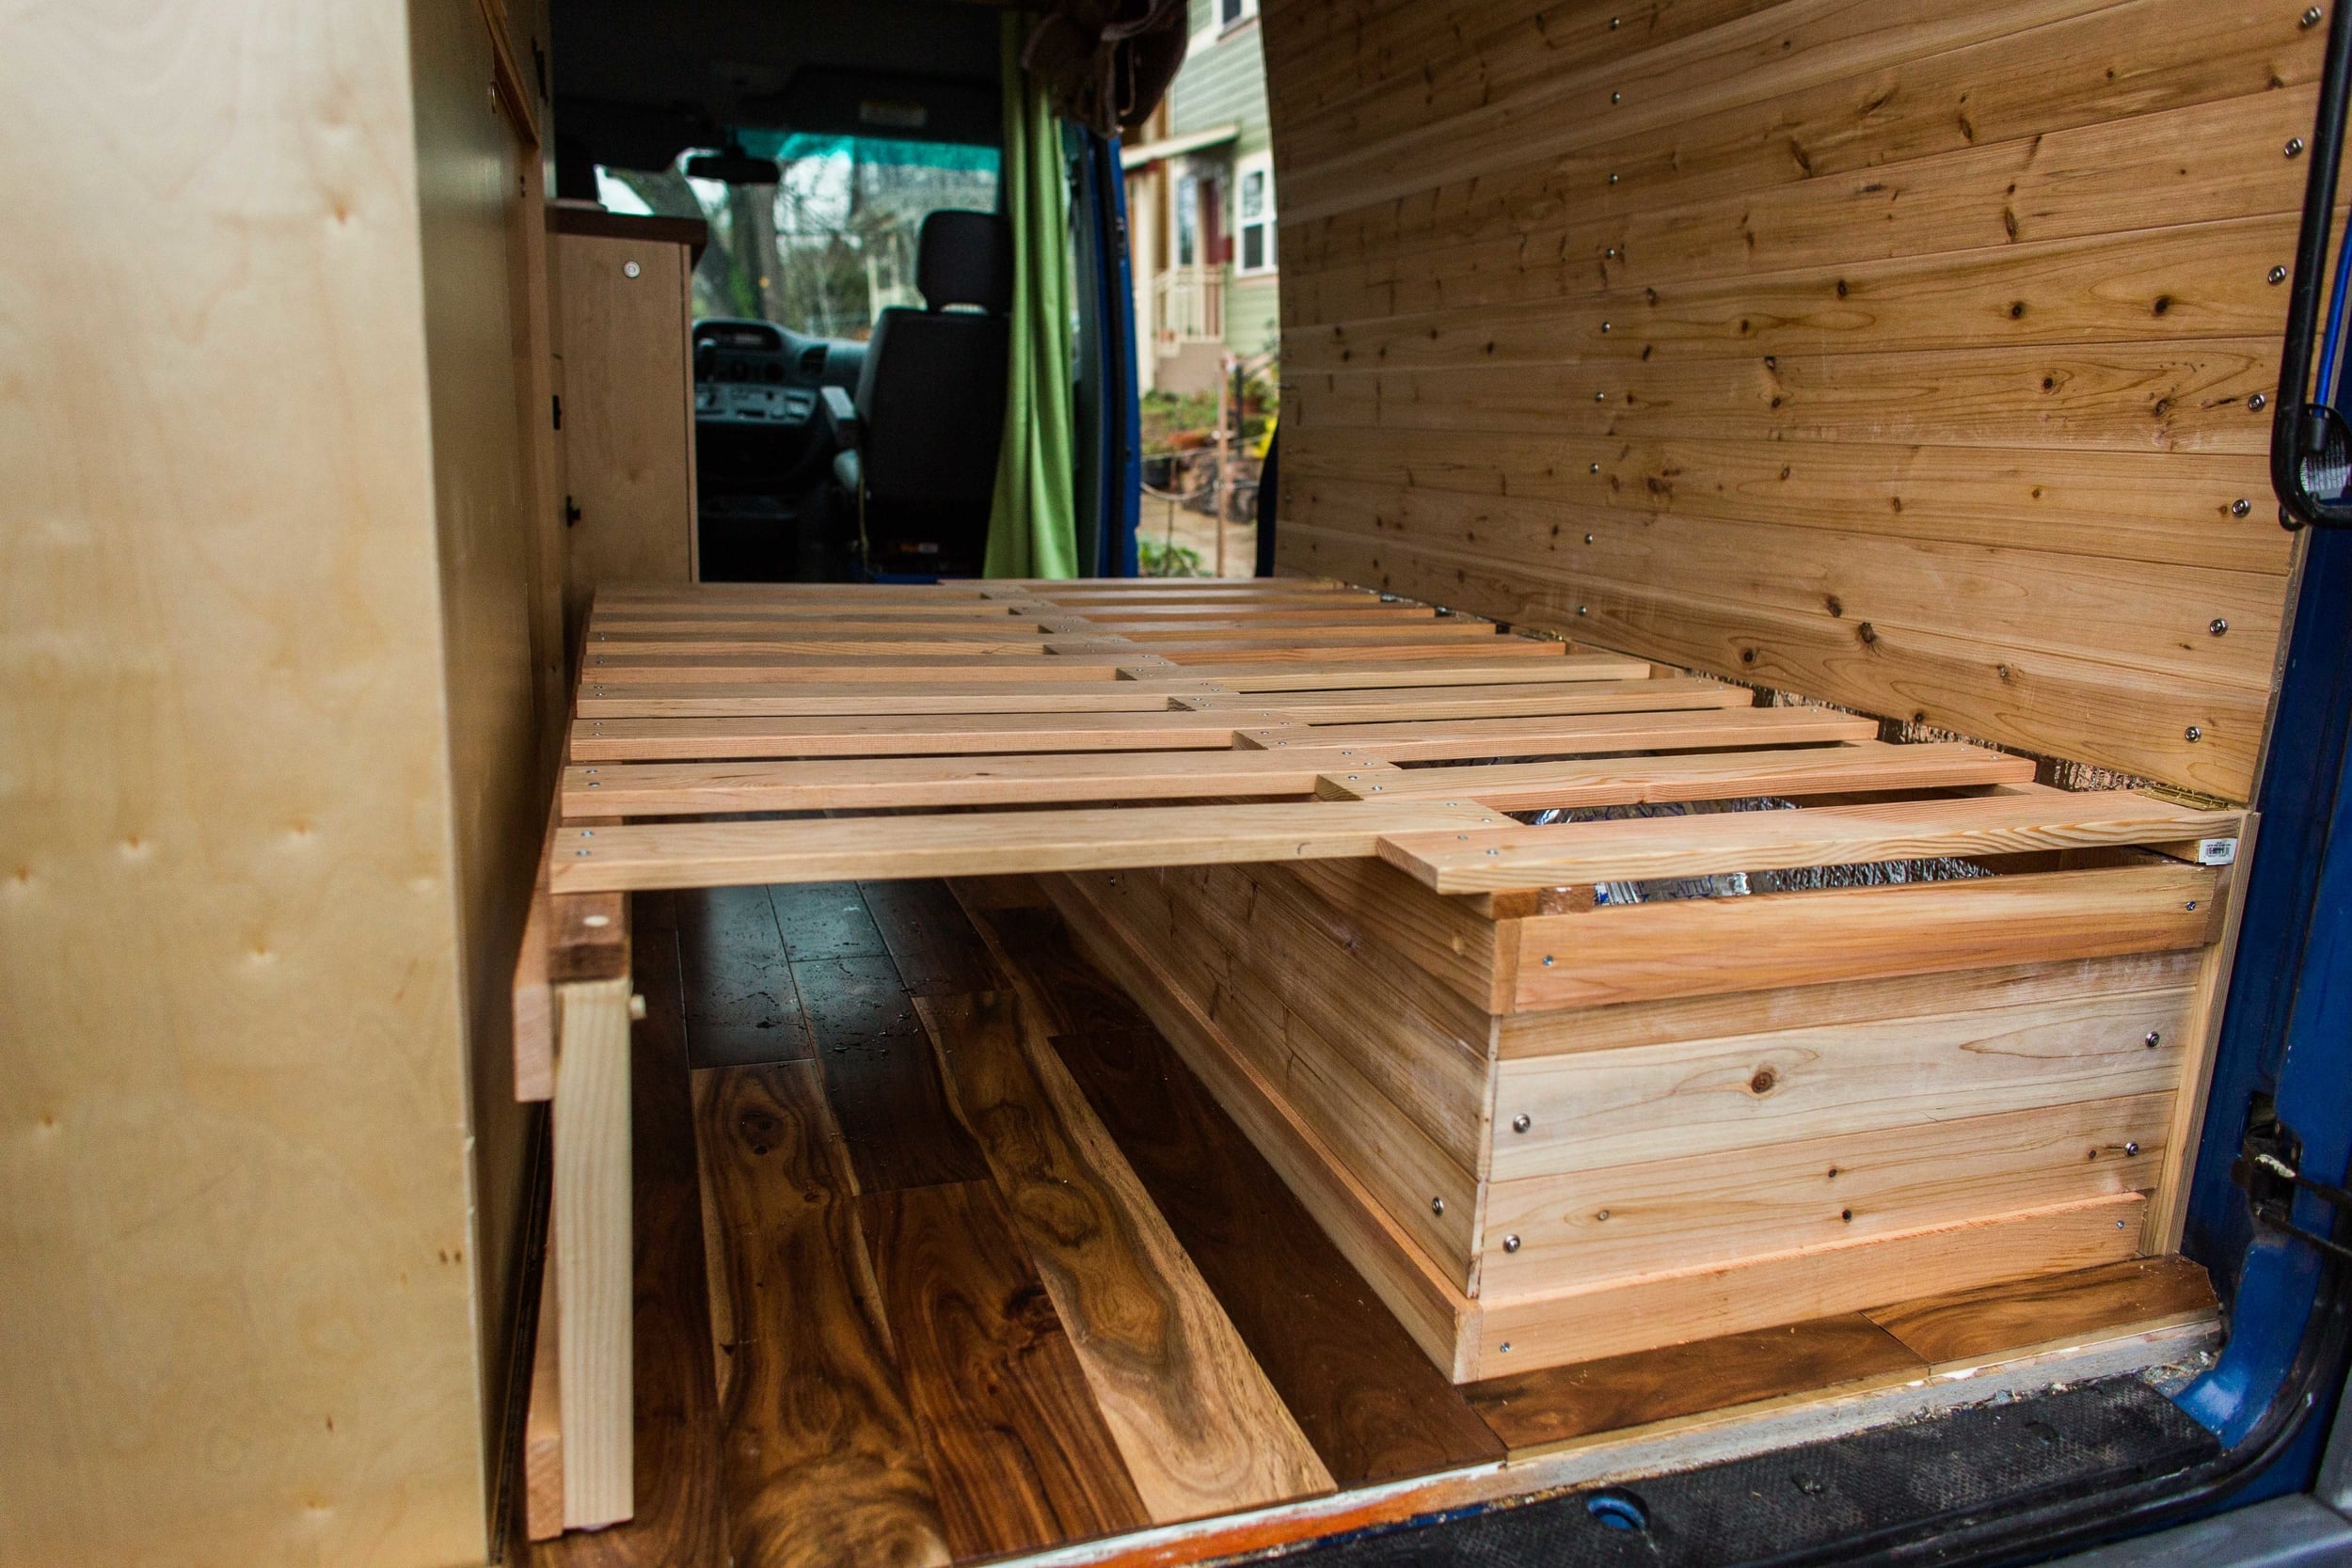
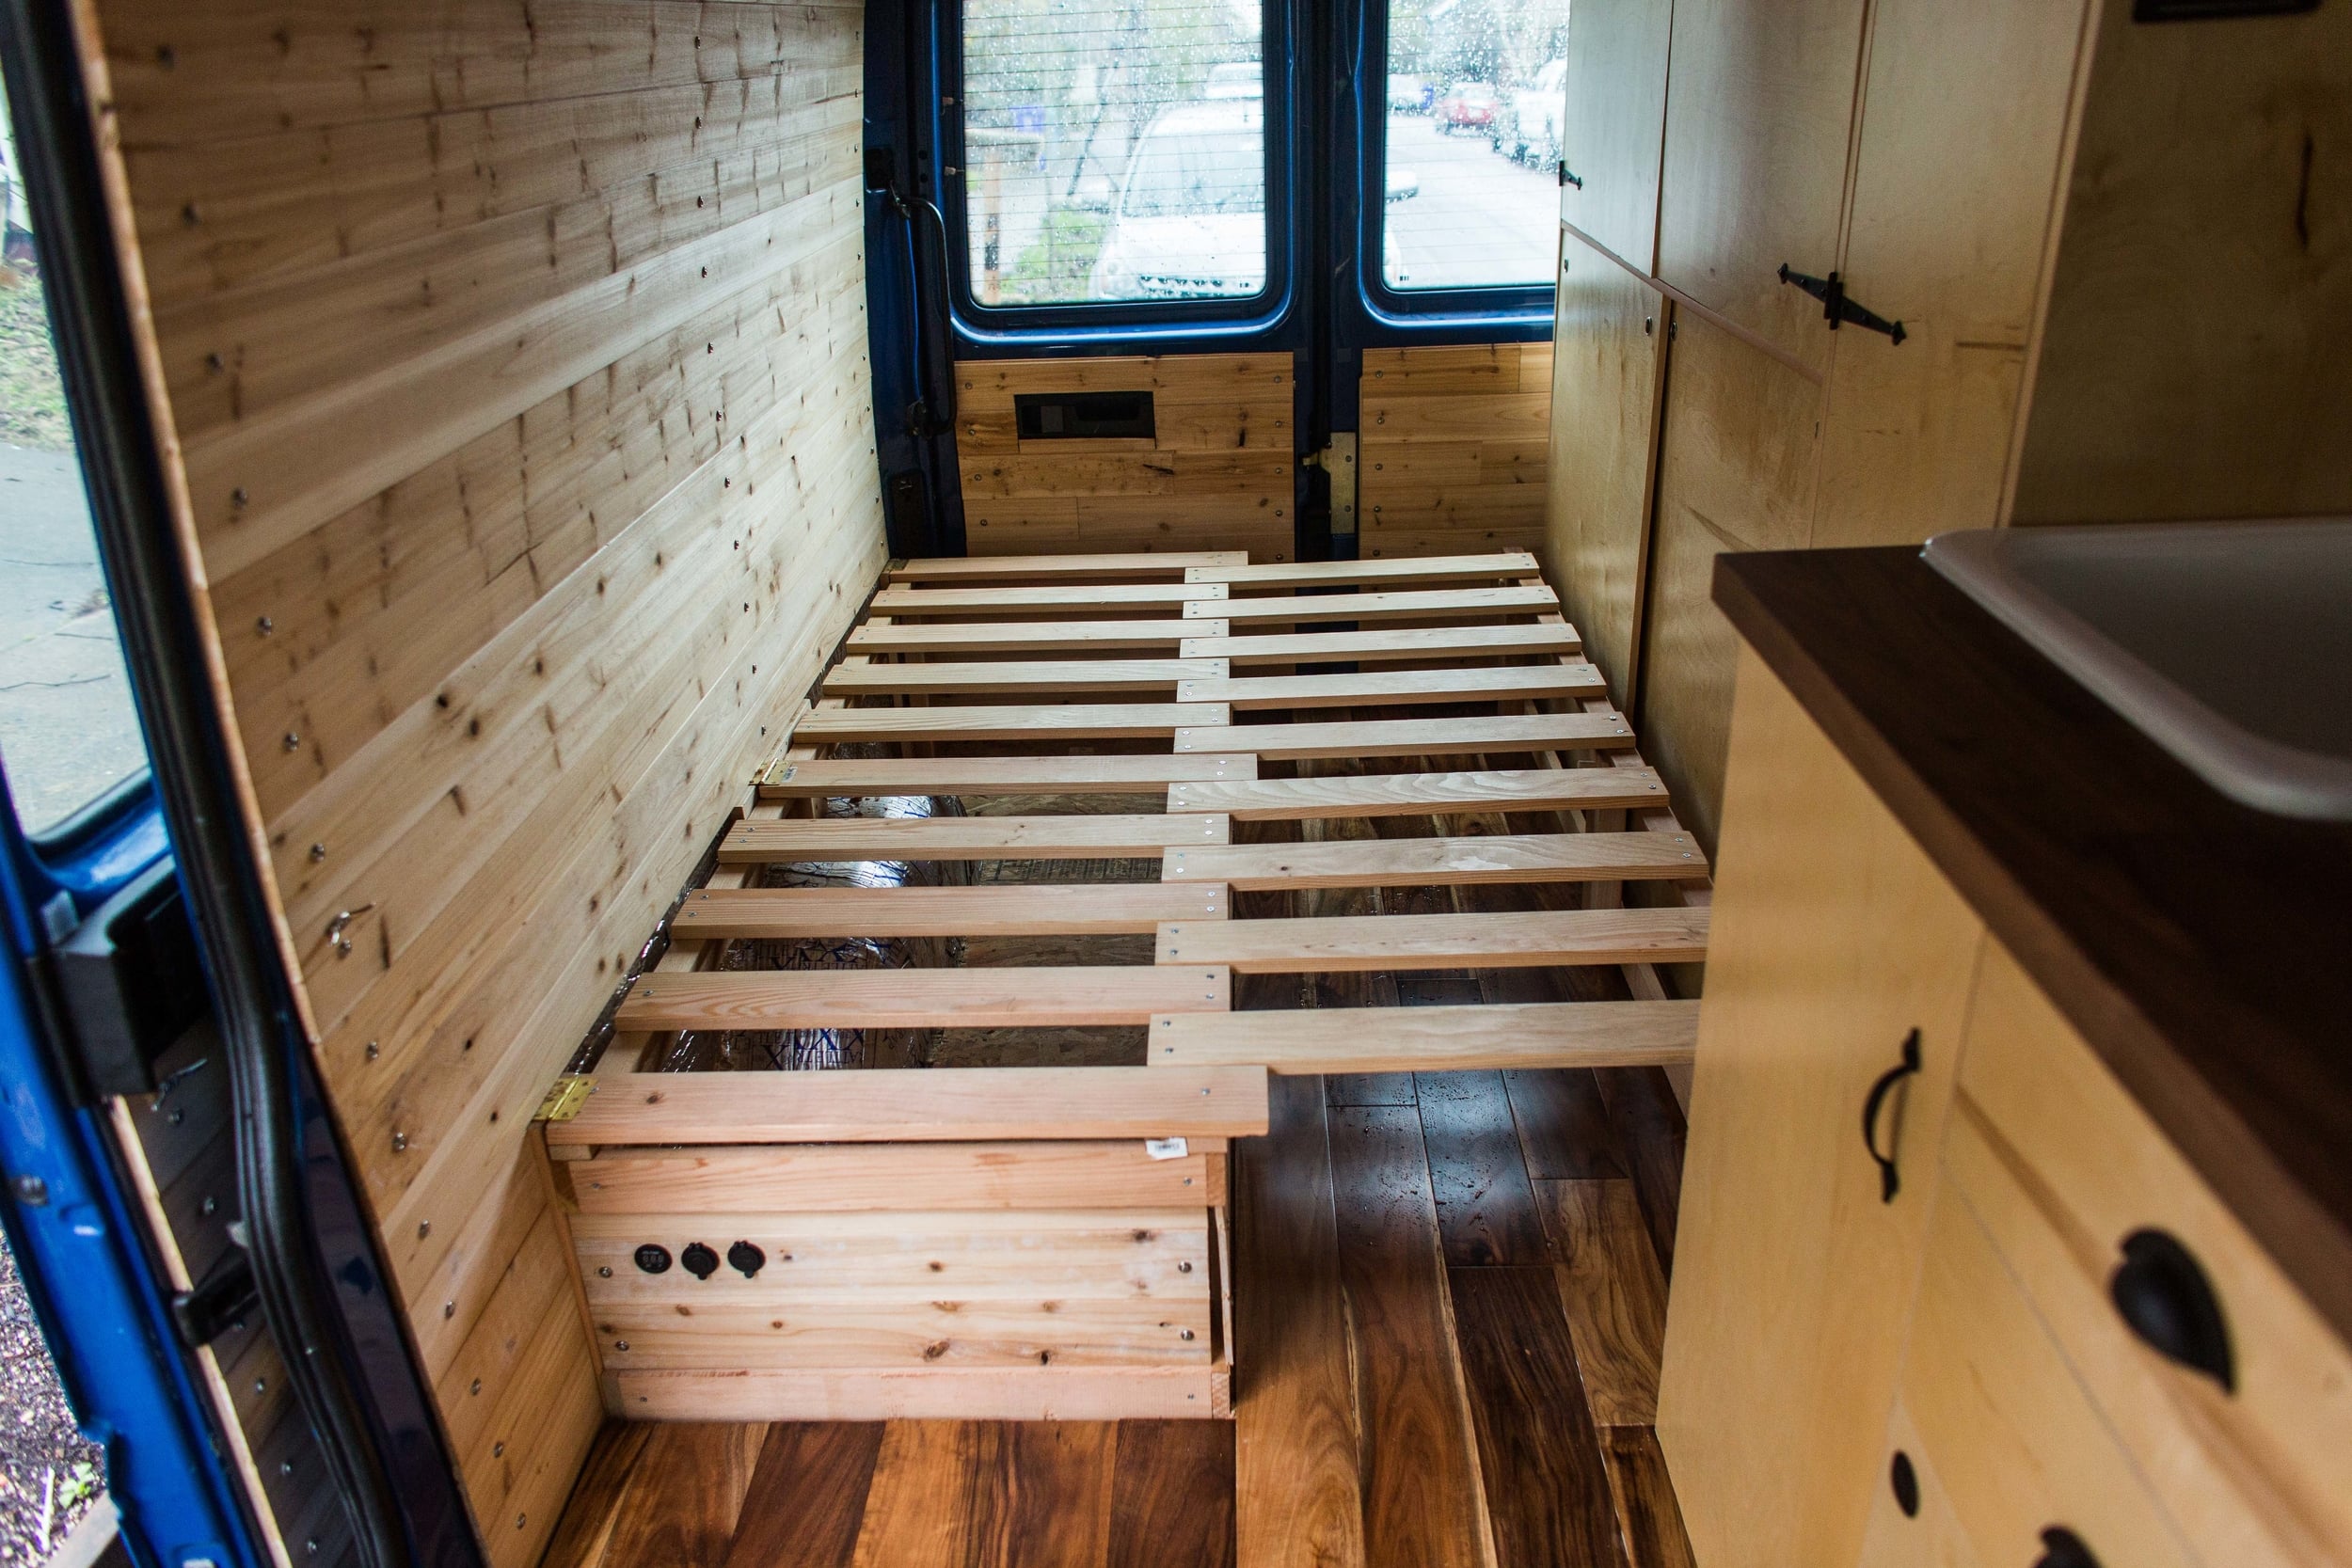
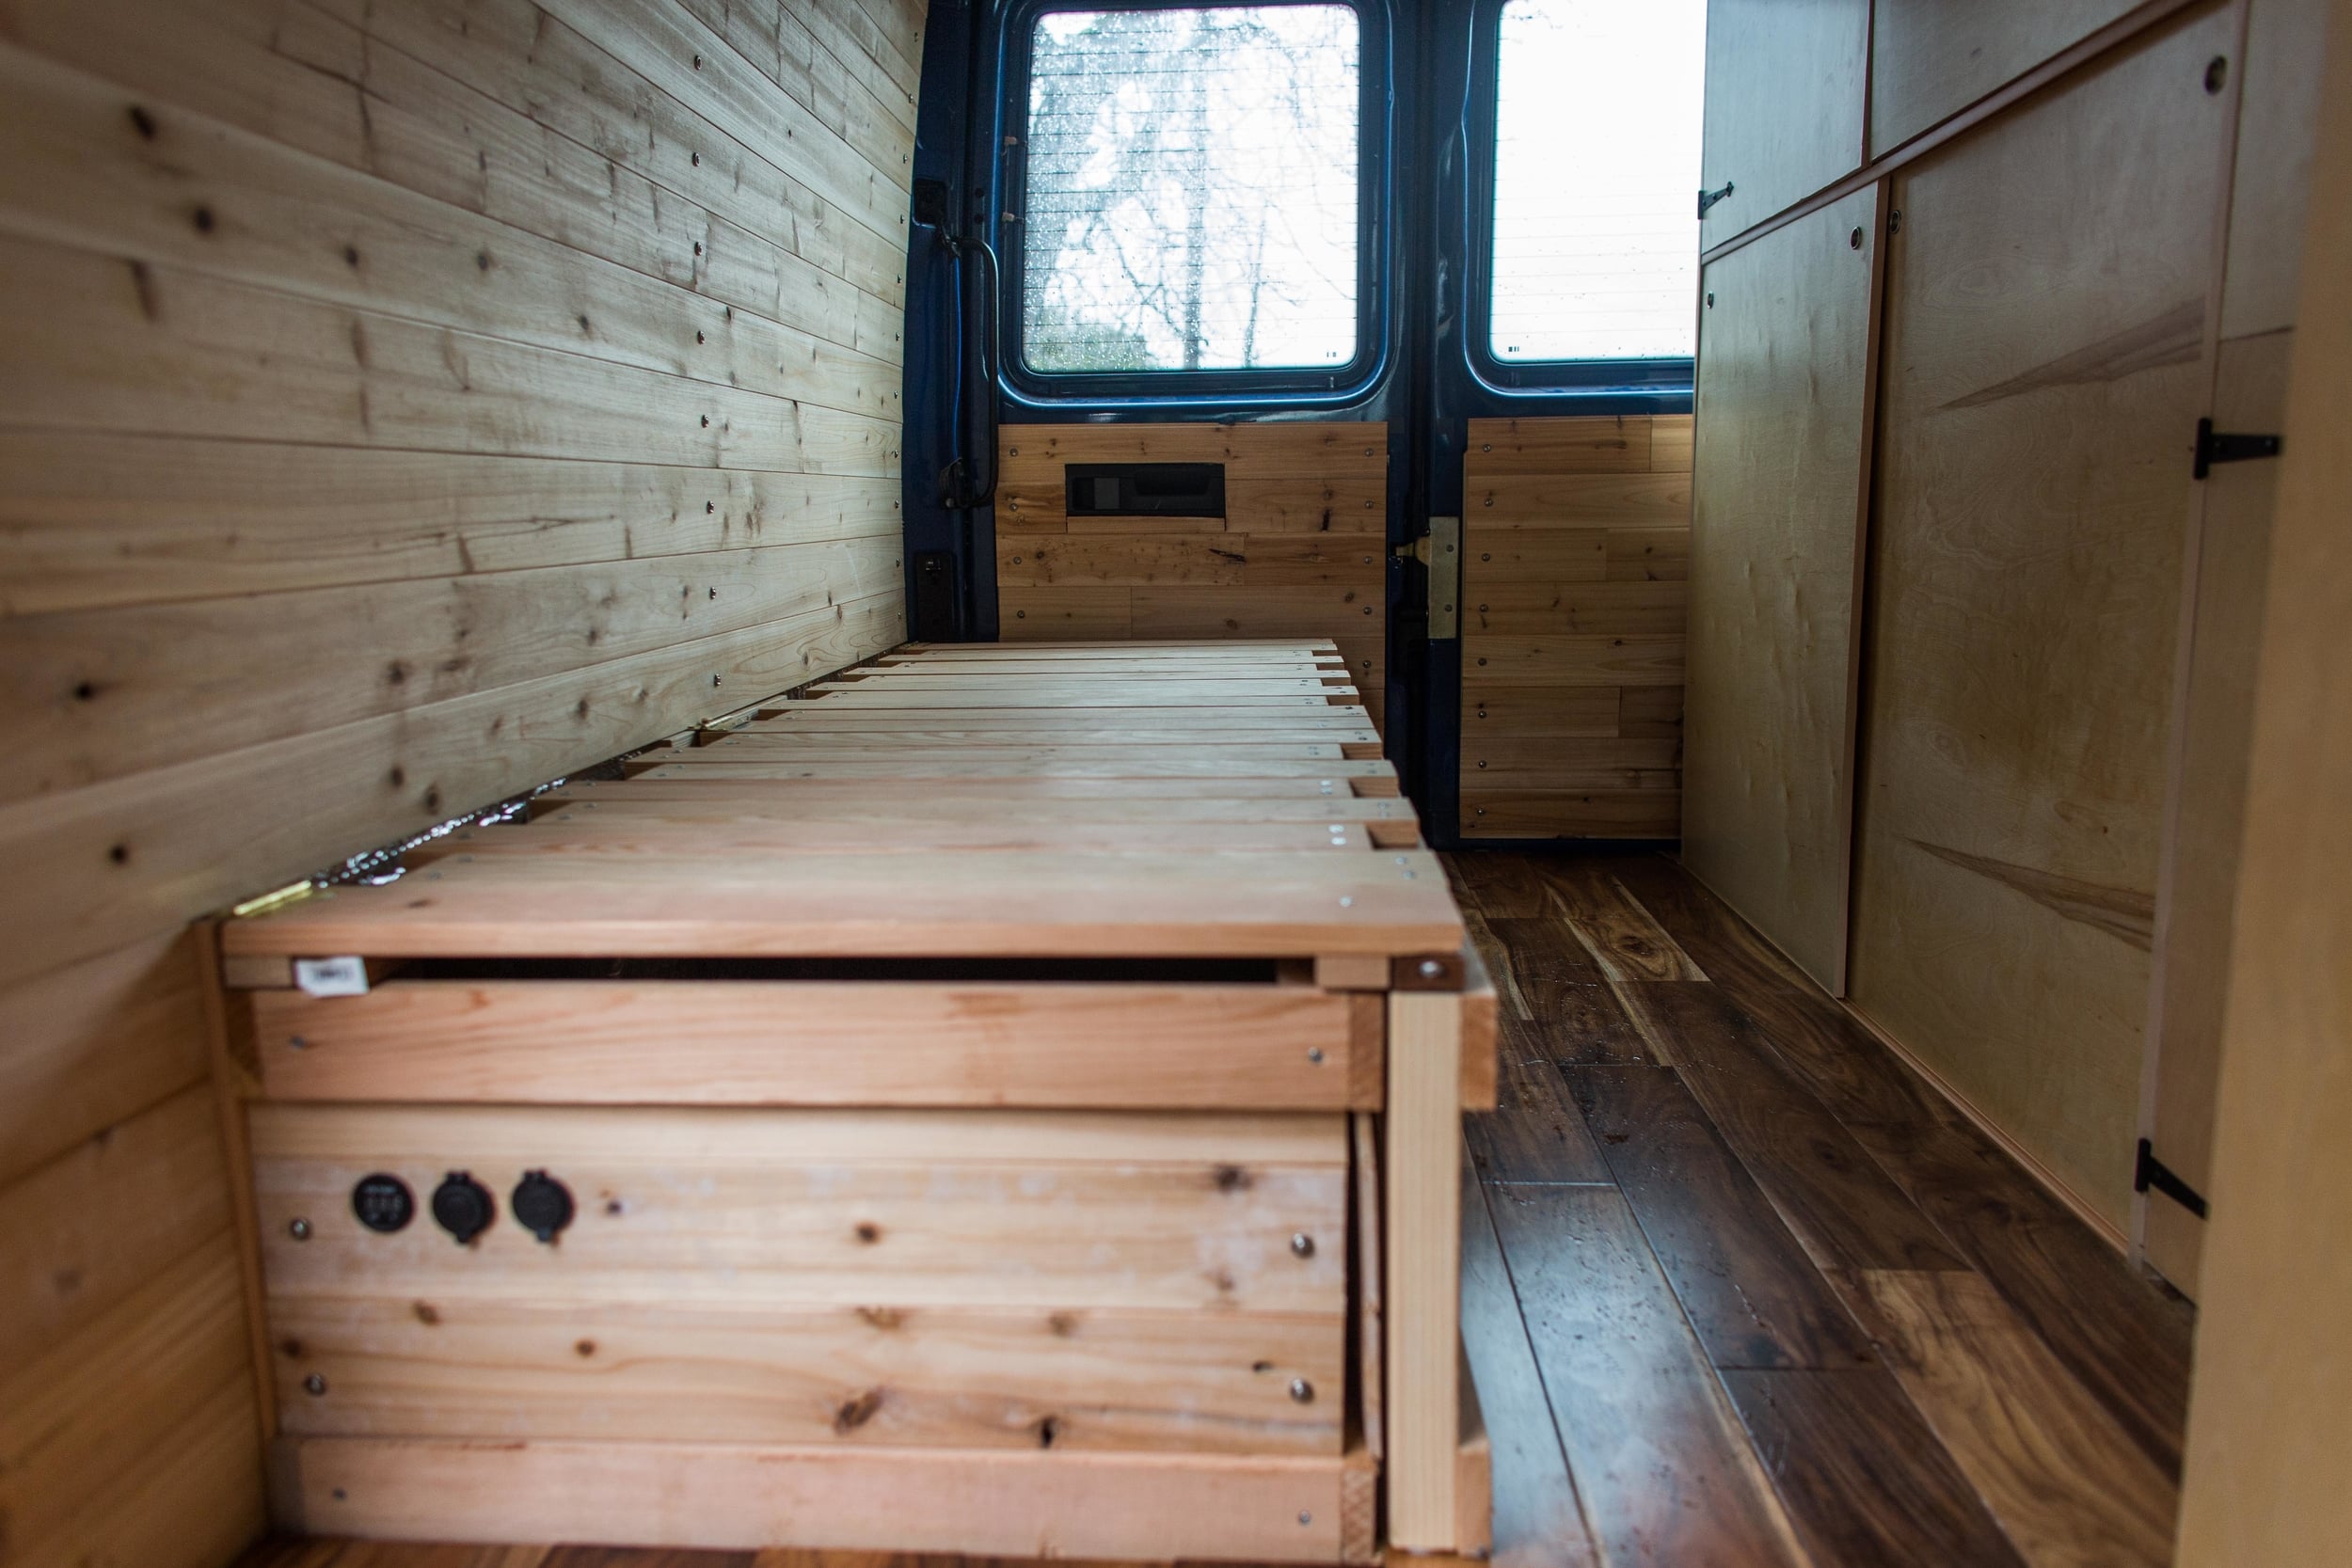
Each slat of the lid measured 3 1/2", and every slat was spaced at 3 7/8" to give enough space in between. Each slat received a pilot hole (to prevent splitting) and screwed into place. The first, last, and middle slats were all measured a bit longer to create a lip to help facilitate opening the lid. With the lid complete, I assembled the extension slats with the runner underneath the lid, and this process was similar. After that the lid was attached to the base frame using some brass hinges I had laying around.
To ease the movement of the slats, I waxed the runners and the slats that rubbed together with candle wax. I used a router to round off the corners of places where the bed fits together in couch-mode. This makes it easier to convert. I recommend doing this step before assembling everything. When the bed is installed, getting to some of these spots with a large router is a pain.
Lastly came the foot to support the extension slats when it is extended. This was tricky. The foot needed to be attached to the moving extension when a bed, but attached to the frame when you need to lift the lid. Because the foot needs to move back and forth, I used several pieces of dowel to help facilitate this. As a bed, the a dowel fits into a hole in the extension slats and the foot moves out. When a couch, another dowel fits into the body, which holds the foot in place when the lid is raised.
As a final touch, I put some felt on the bottom of the foot to not scratch the floor, and later when doing the paneling, put cedar facing on the front and sides. After that, the bed was complete! This was probably the easiest piece of furniture to make, and am pretty happy how it turned out.
Lessons Learned:
Router is hard to get into tight spaces, so plan accordingly!
Don't make the receiving hole for a dowel too large. The loose fit made the foot fall, so that had to be corrected
Mind the wheel well. It's larger than you think and you have to accommodate for it. I ran into issues in both the bed and the storage shelves.
Electric miter saw makes cutting a lot of wood way faster.